Using TurbulenceFD with Octane
Using TurbulenceFD with a standard LightWave render is very simple - because that's what it was designed for. Using the Octane plugin takes a little more effort and there are compromises to be made because - as of LightWave 2023 - Turbulence wasn't designed for Octane. This situation will improve in future versions.
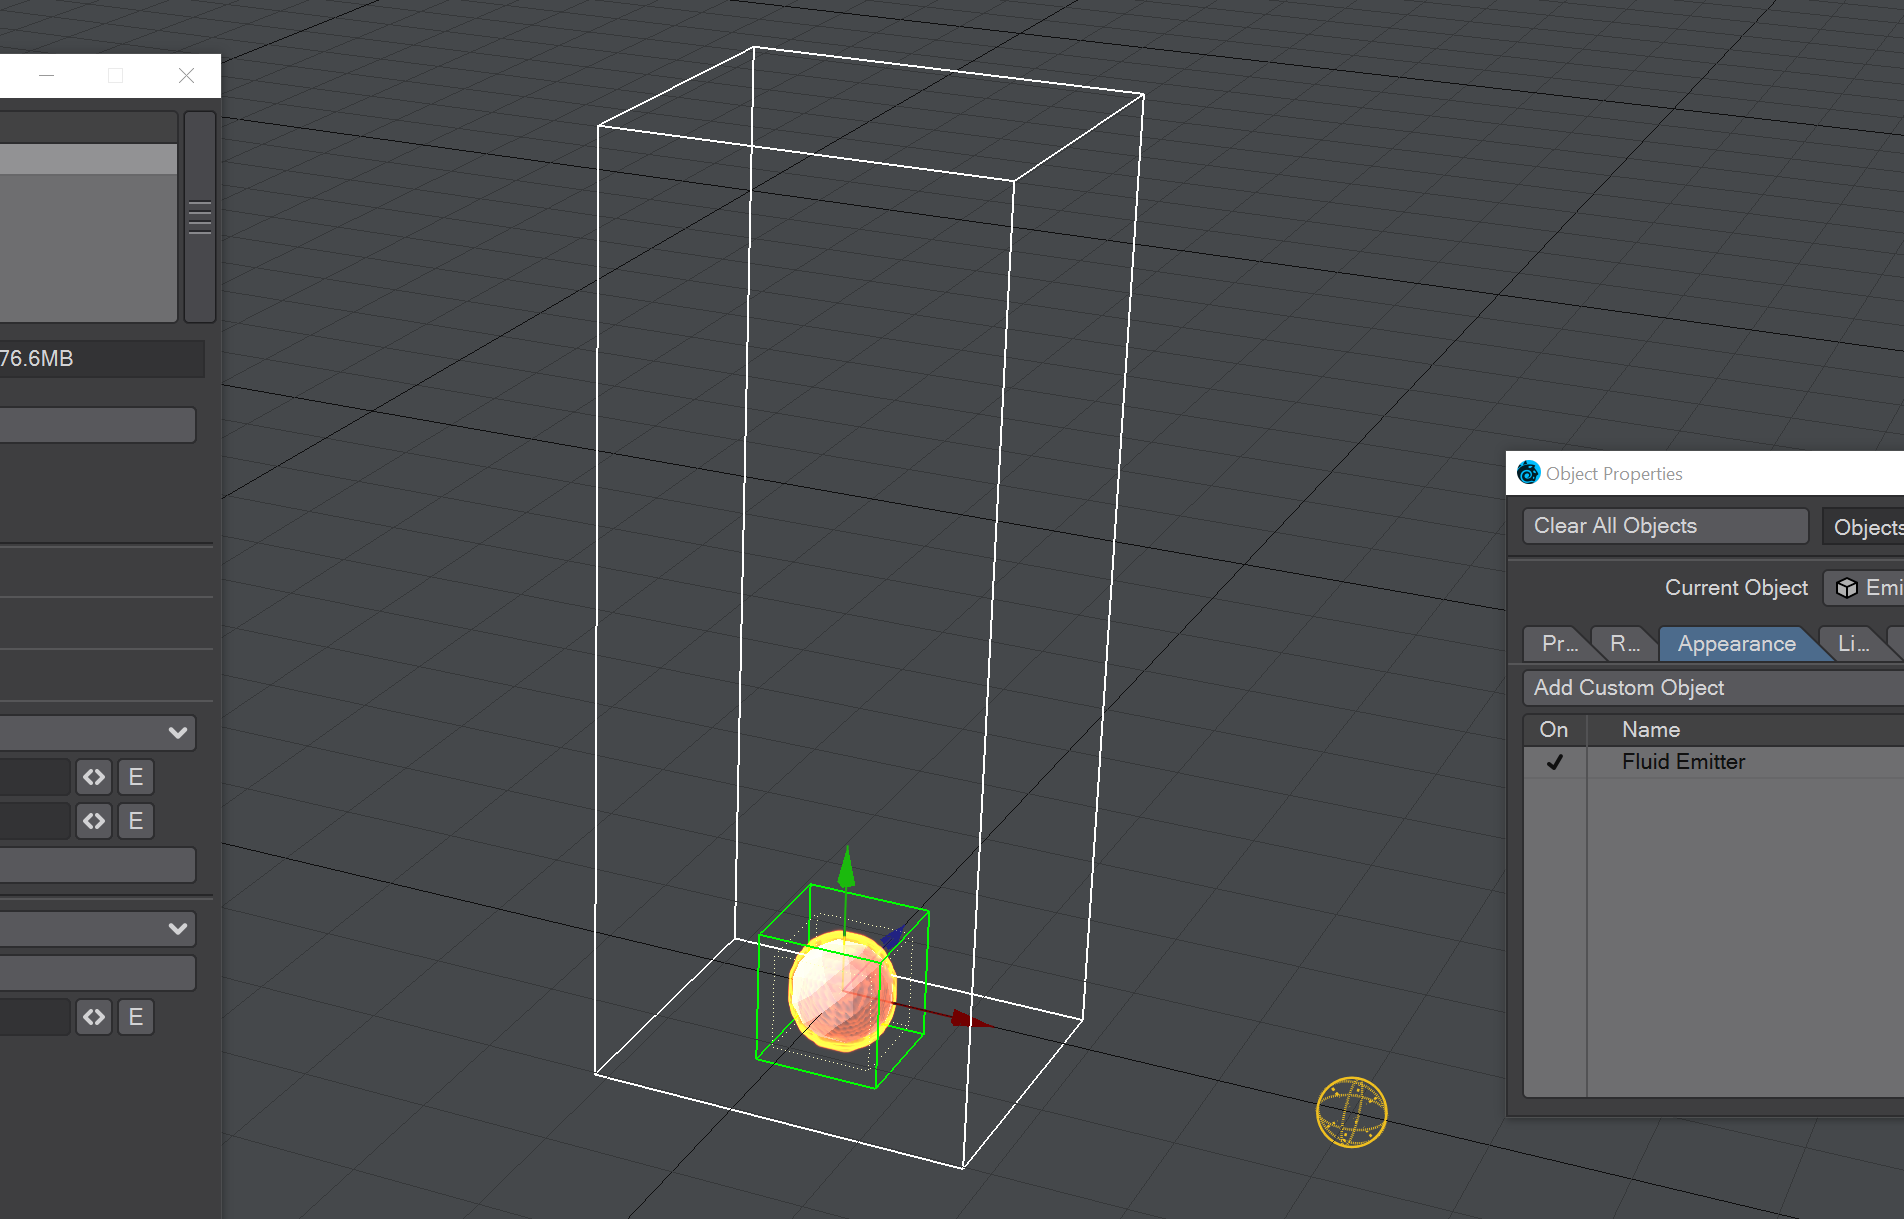
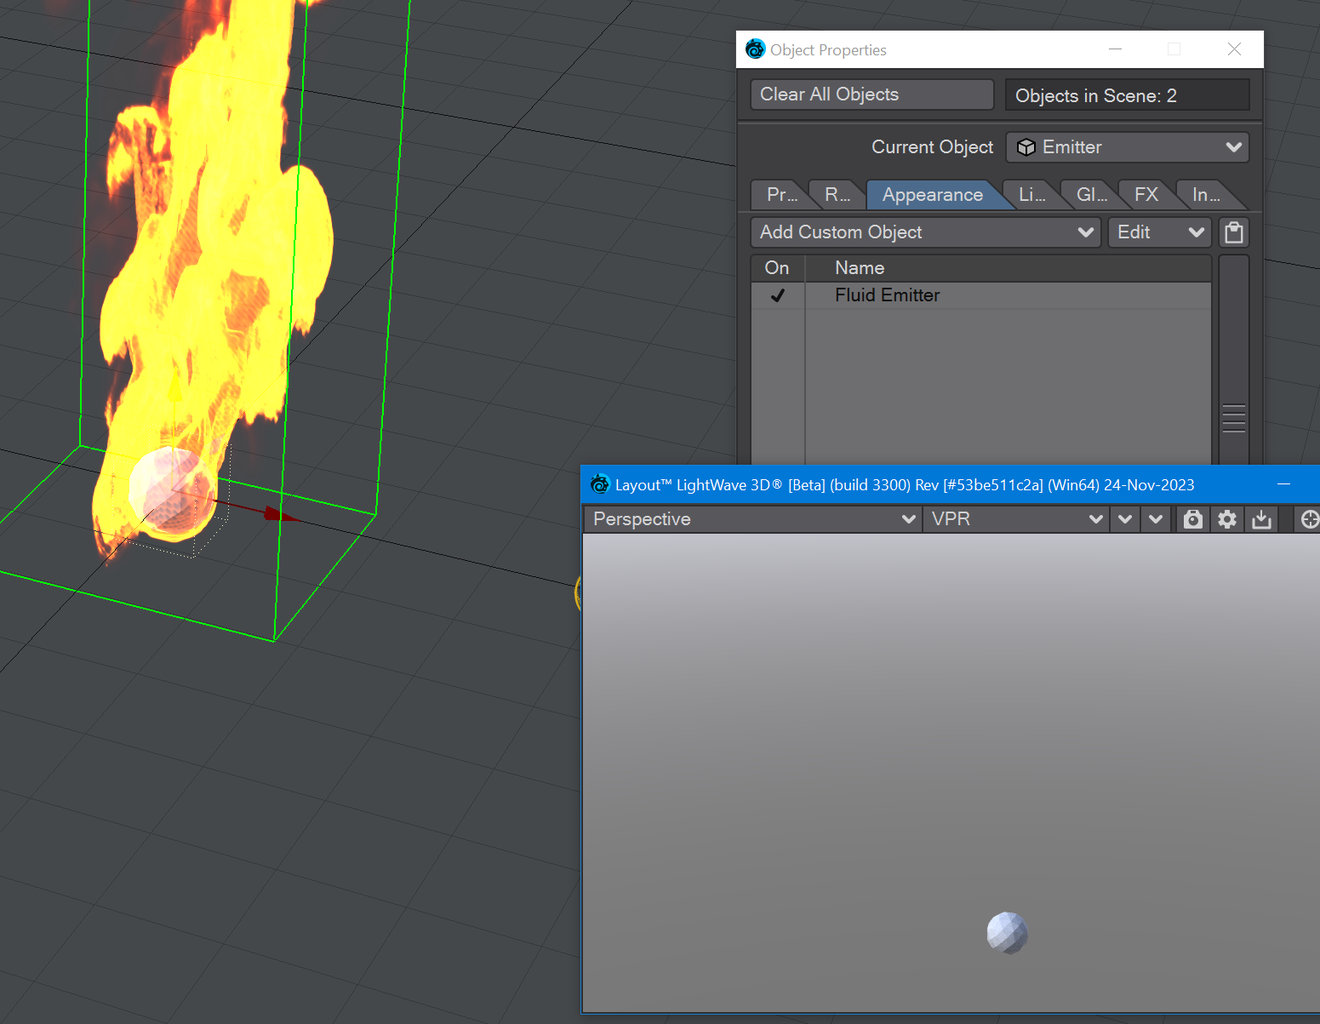
Let's start a new scene with the most basic Turbulence elements. Add an emitter, using whatever method you wish to create just a little geometry. In the TurbulenceFD tab, click Make Emitter. Now, Add Container and use the Stretch and Move tools to resize the container to be a tall thin box with the emitter object at the bottom.
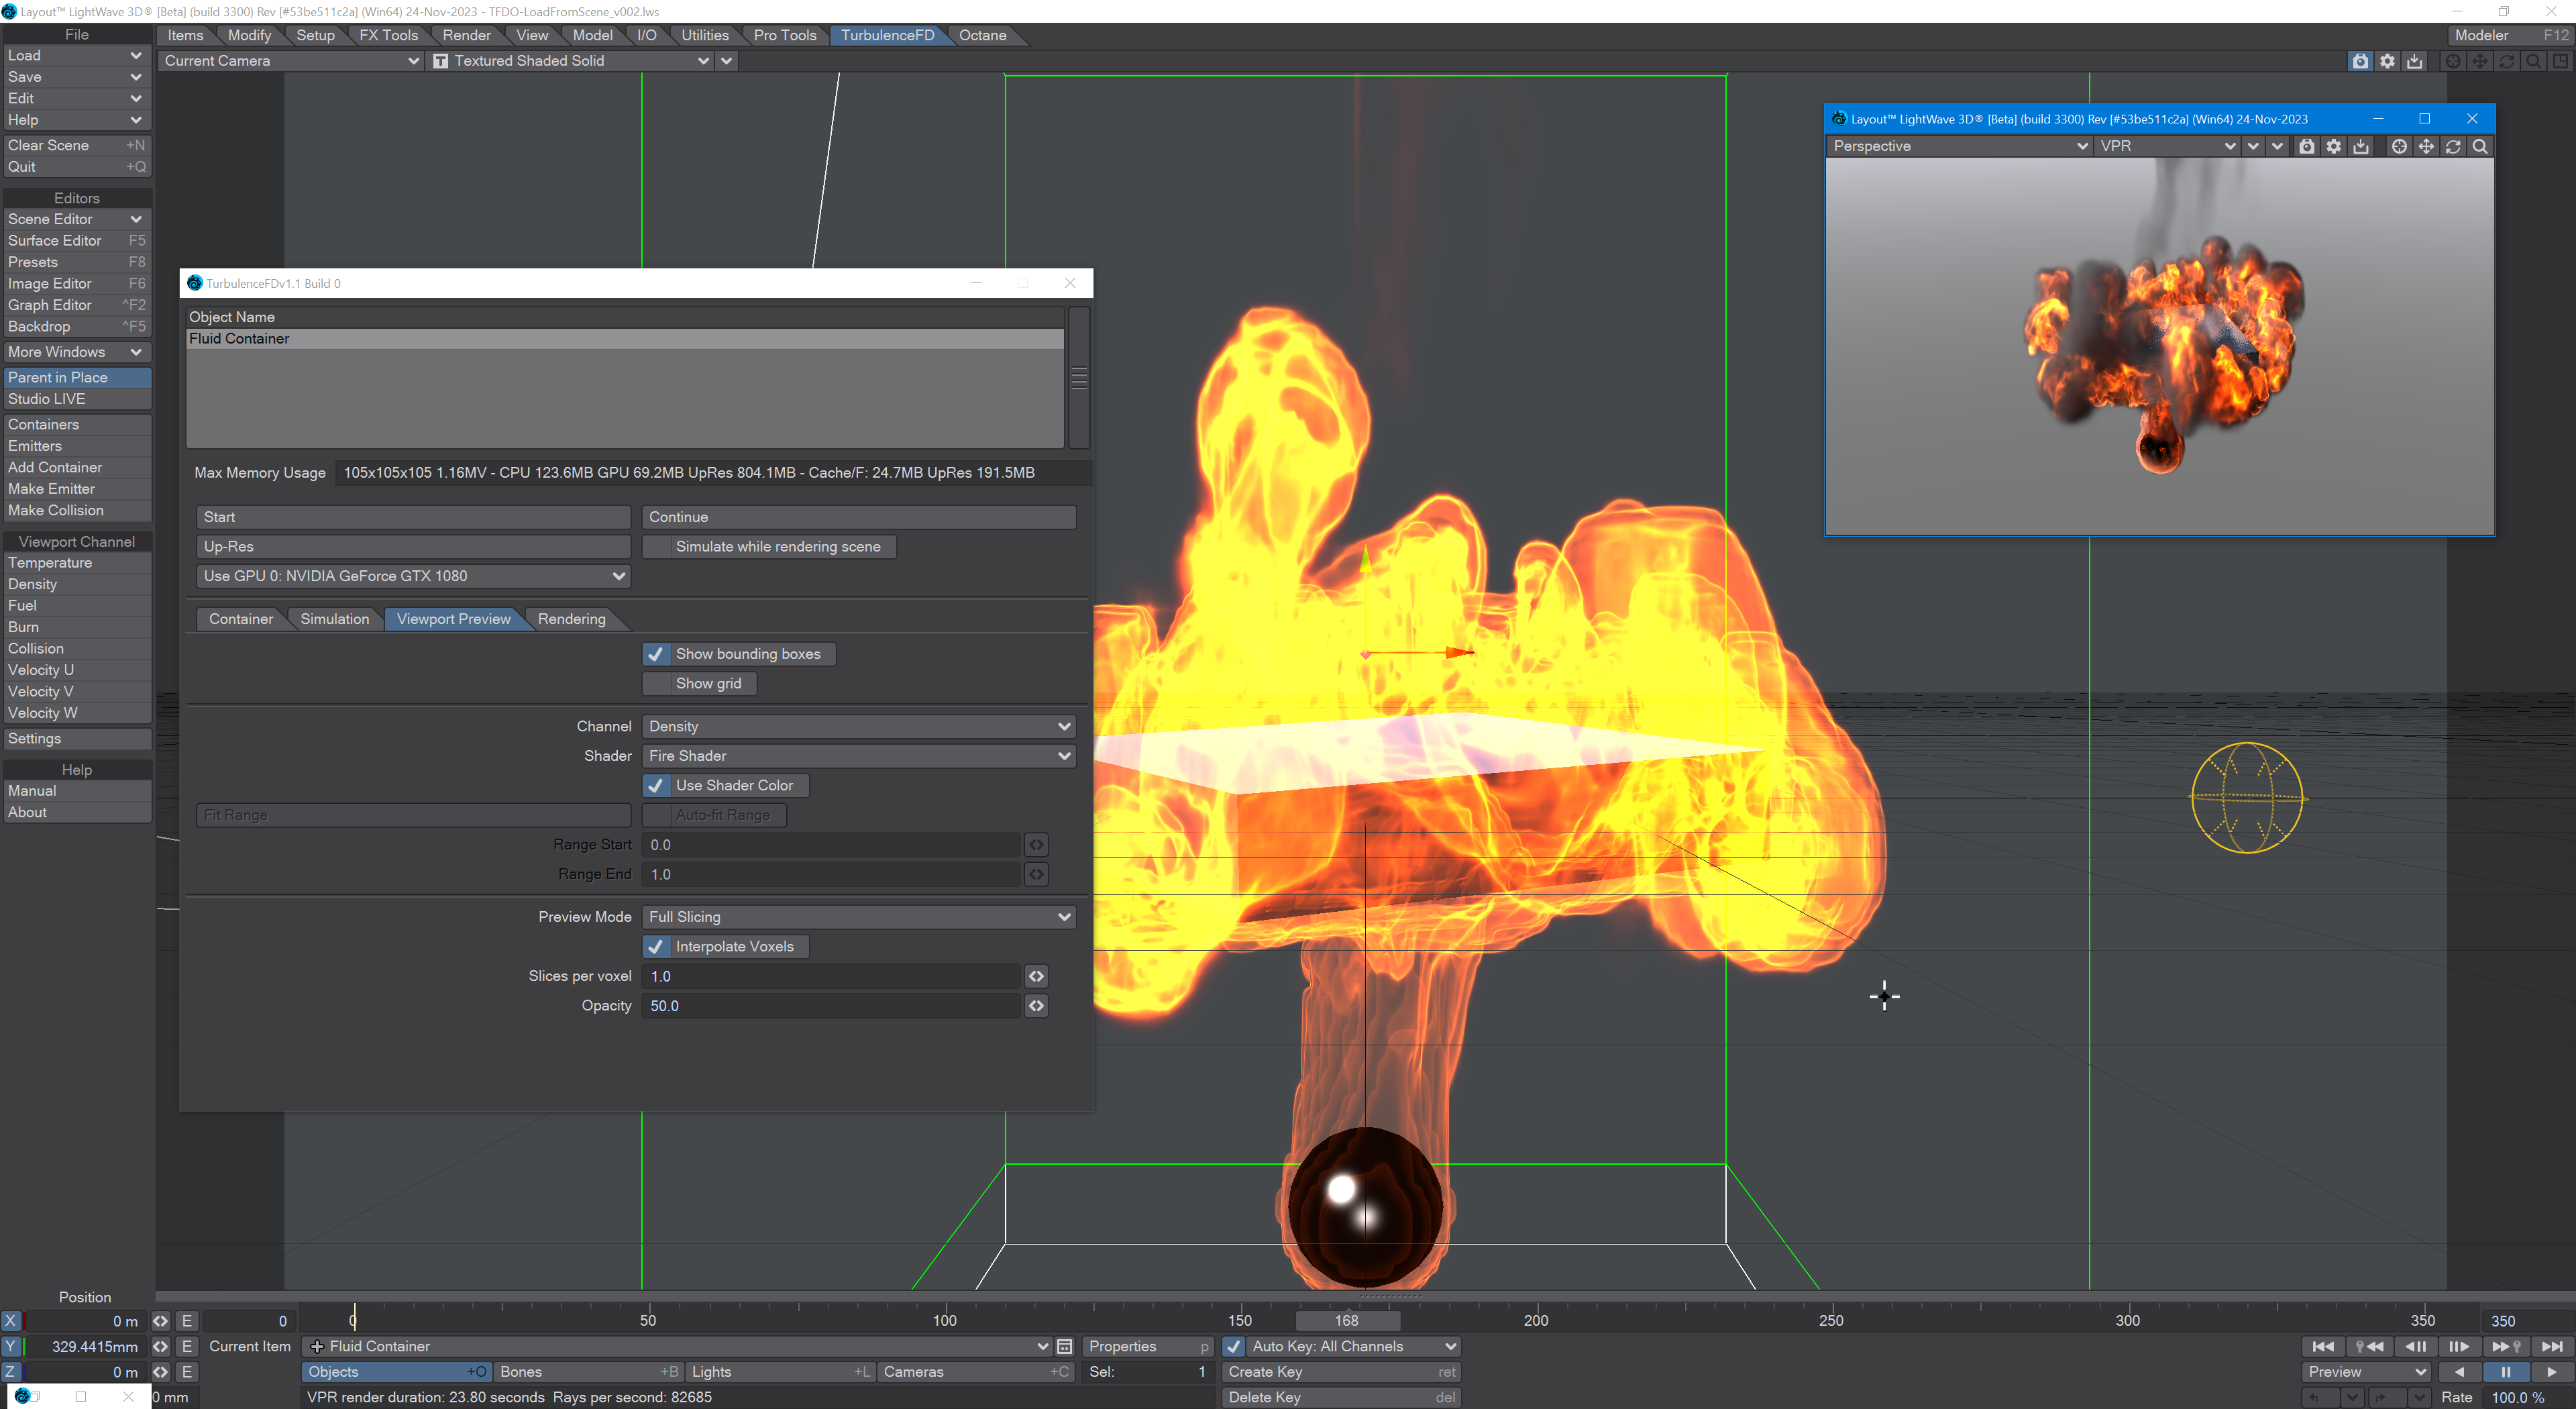
The point here isn't to make something pretty, just to have a simulation that we can run through Octane and compare.
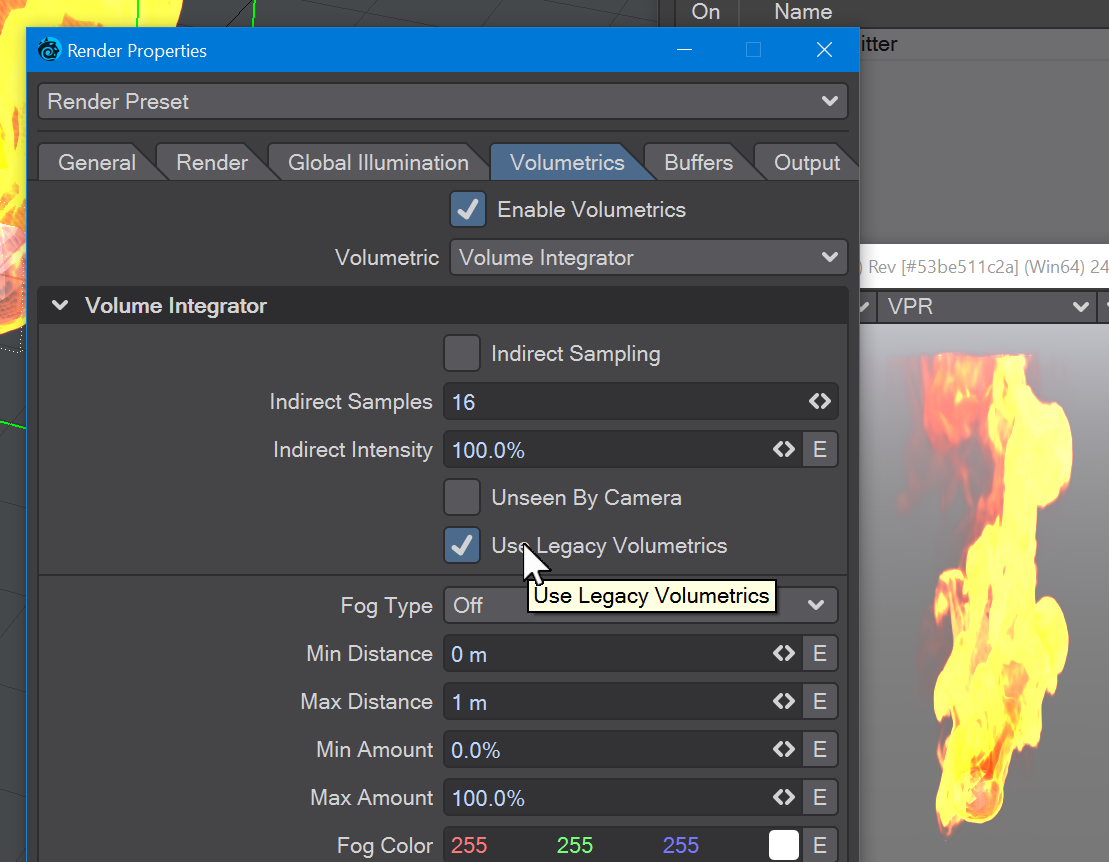
If you have a result that looks something like this before image in VPR, make sure you remember to go into the Render Properties (Ctrl+P) and turn on Use Legacy Volumetrics in the Volumetrics tab, just like the after image.
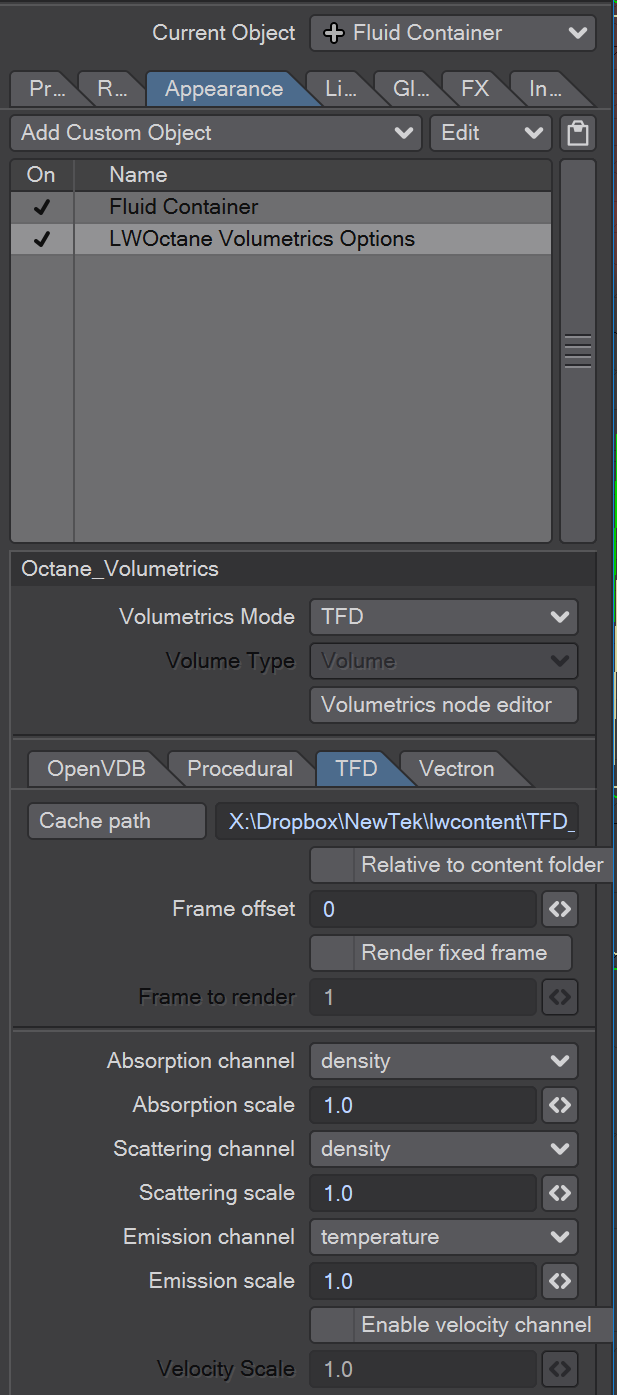
Now that we have an image rendering using VPR, let's turn to using it with Octane. Turbulence has been made to work with Octane, but it's not at home. For this to work, first we need to make Octane aware of our flames. To do that, open the Object Properties window for your Container object and go to the Appearance tab. Add LWOctane Volumetrics Options in the Custom Object dropdown.
Next, and reading down the panel, make sure Volumetrics Mode is set to TFD. Make sure your Cache path is set to the same directory indicated in your TurbulenceFD Container Properties window. You can adjust scales for Absorption, Scattering and Emission here, along with which Turbulence channels to read.
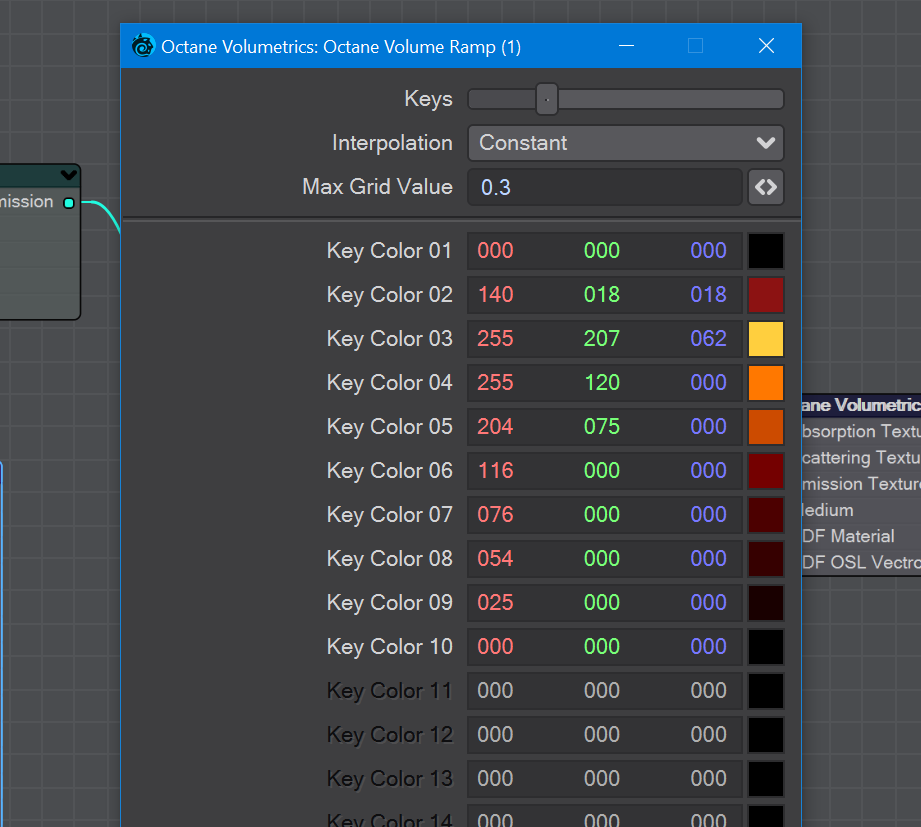
Next, we'll go back to the top of this panel, into the Volumetrics node editor. For Turbulence to be seen by Octane, you need three nodes to plug into the Octane Volumetrics destination node. Let's start with Octane Volume Medium, which you will find in the Octane Medium group. Hook this to your destination node's Medium input. Now look for the Octane Texture Emission node. Hook that up to the Emission input on the Volume Medium node. Lastly, we need an Octane Volume Ramp, found again in the Medium folder. Unfortunately, right now you need to set up a pseudo-gradient like the one shown here, adding each colour manually. As soon as we can simplify this process we will.