Instancer Brush
Spreading instances far and wide
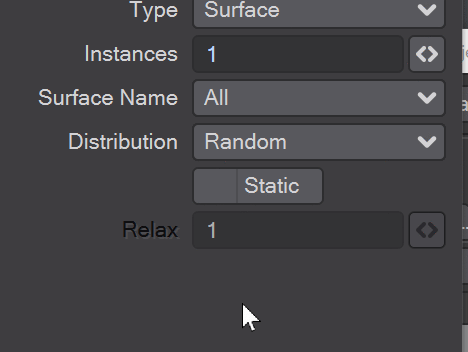
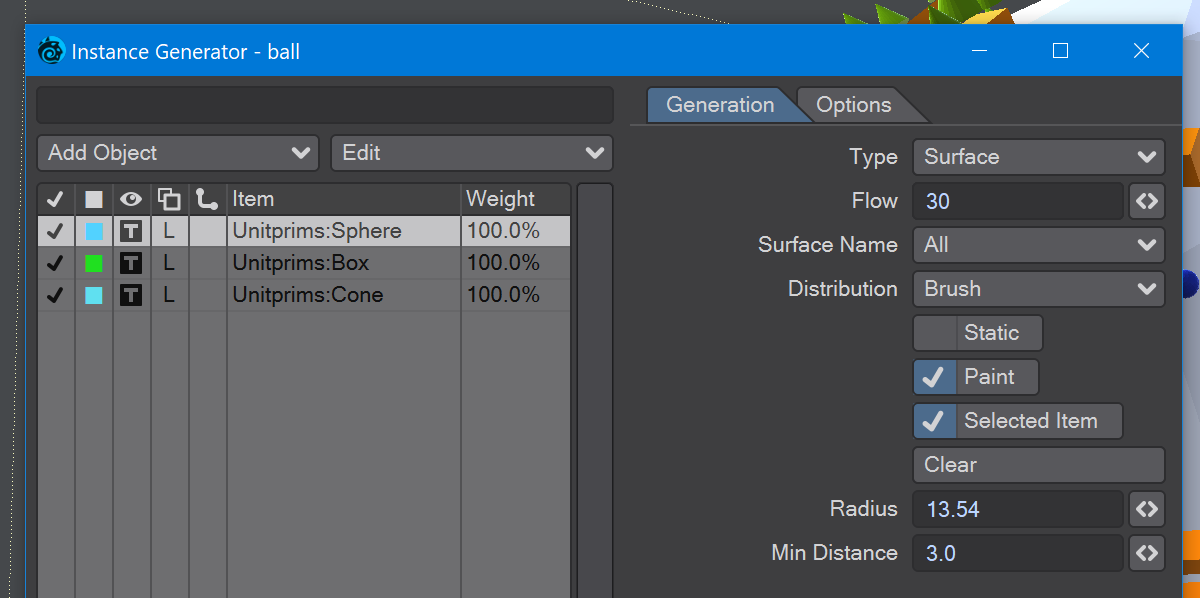
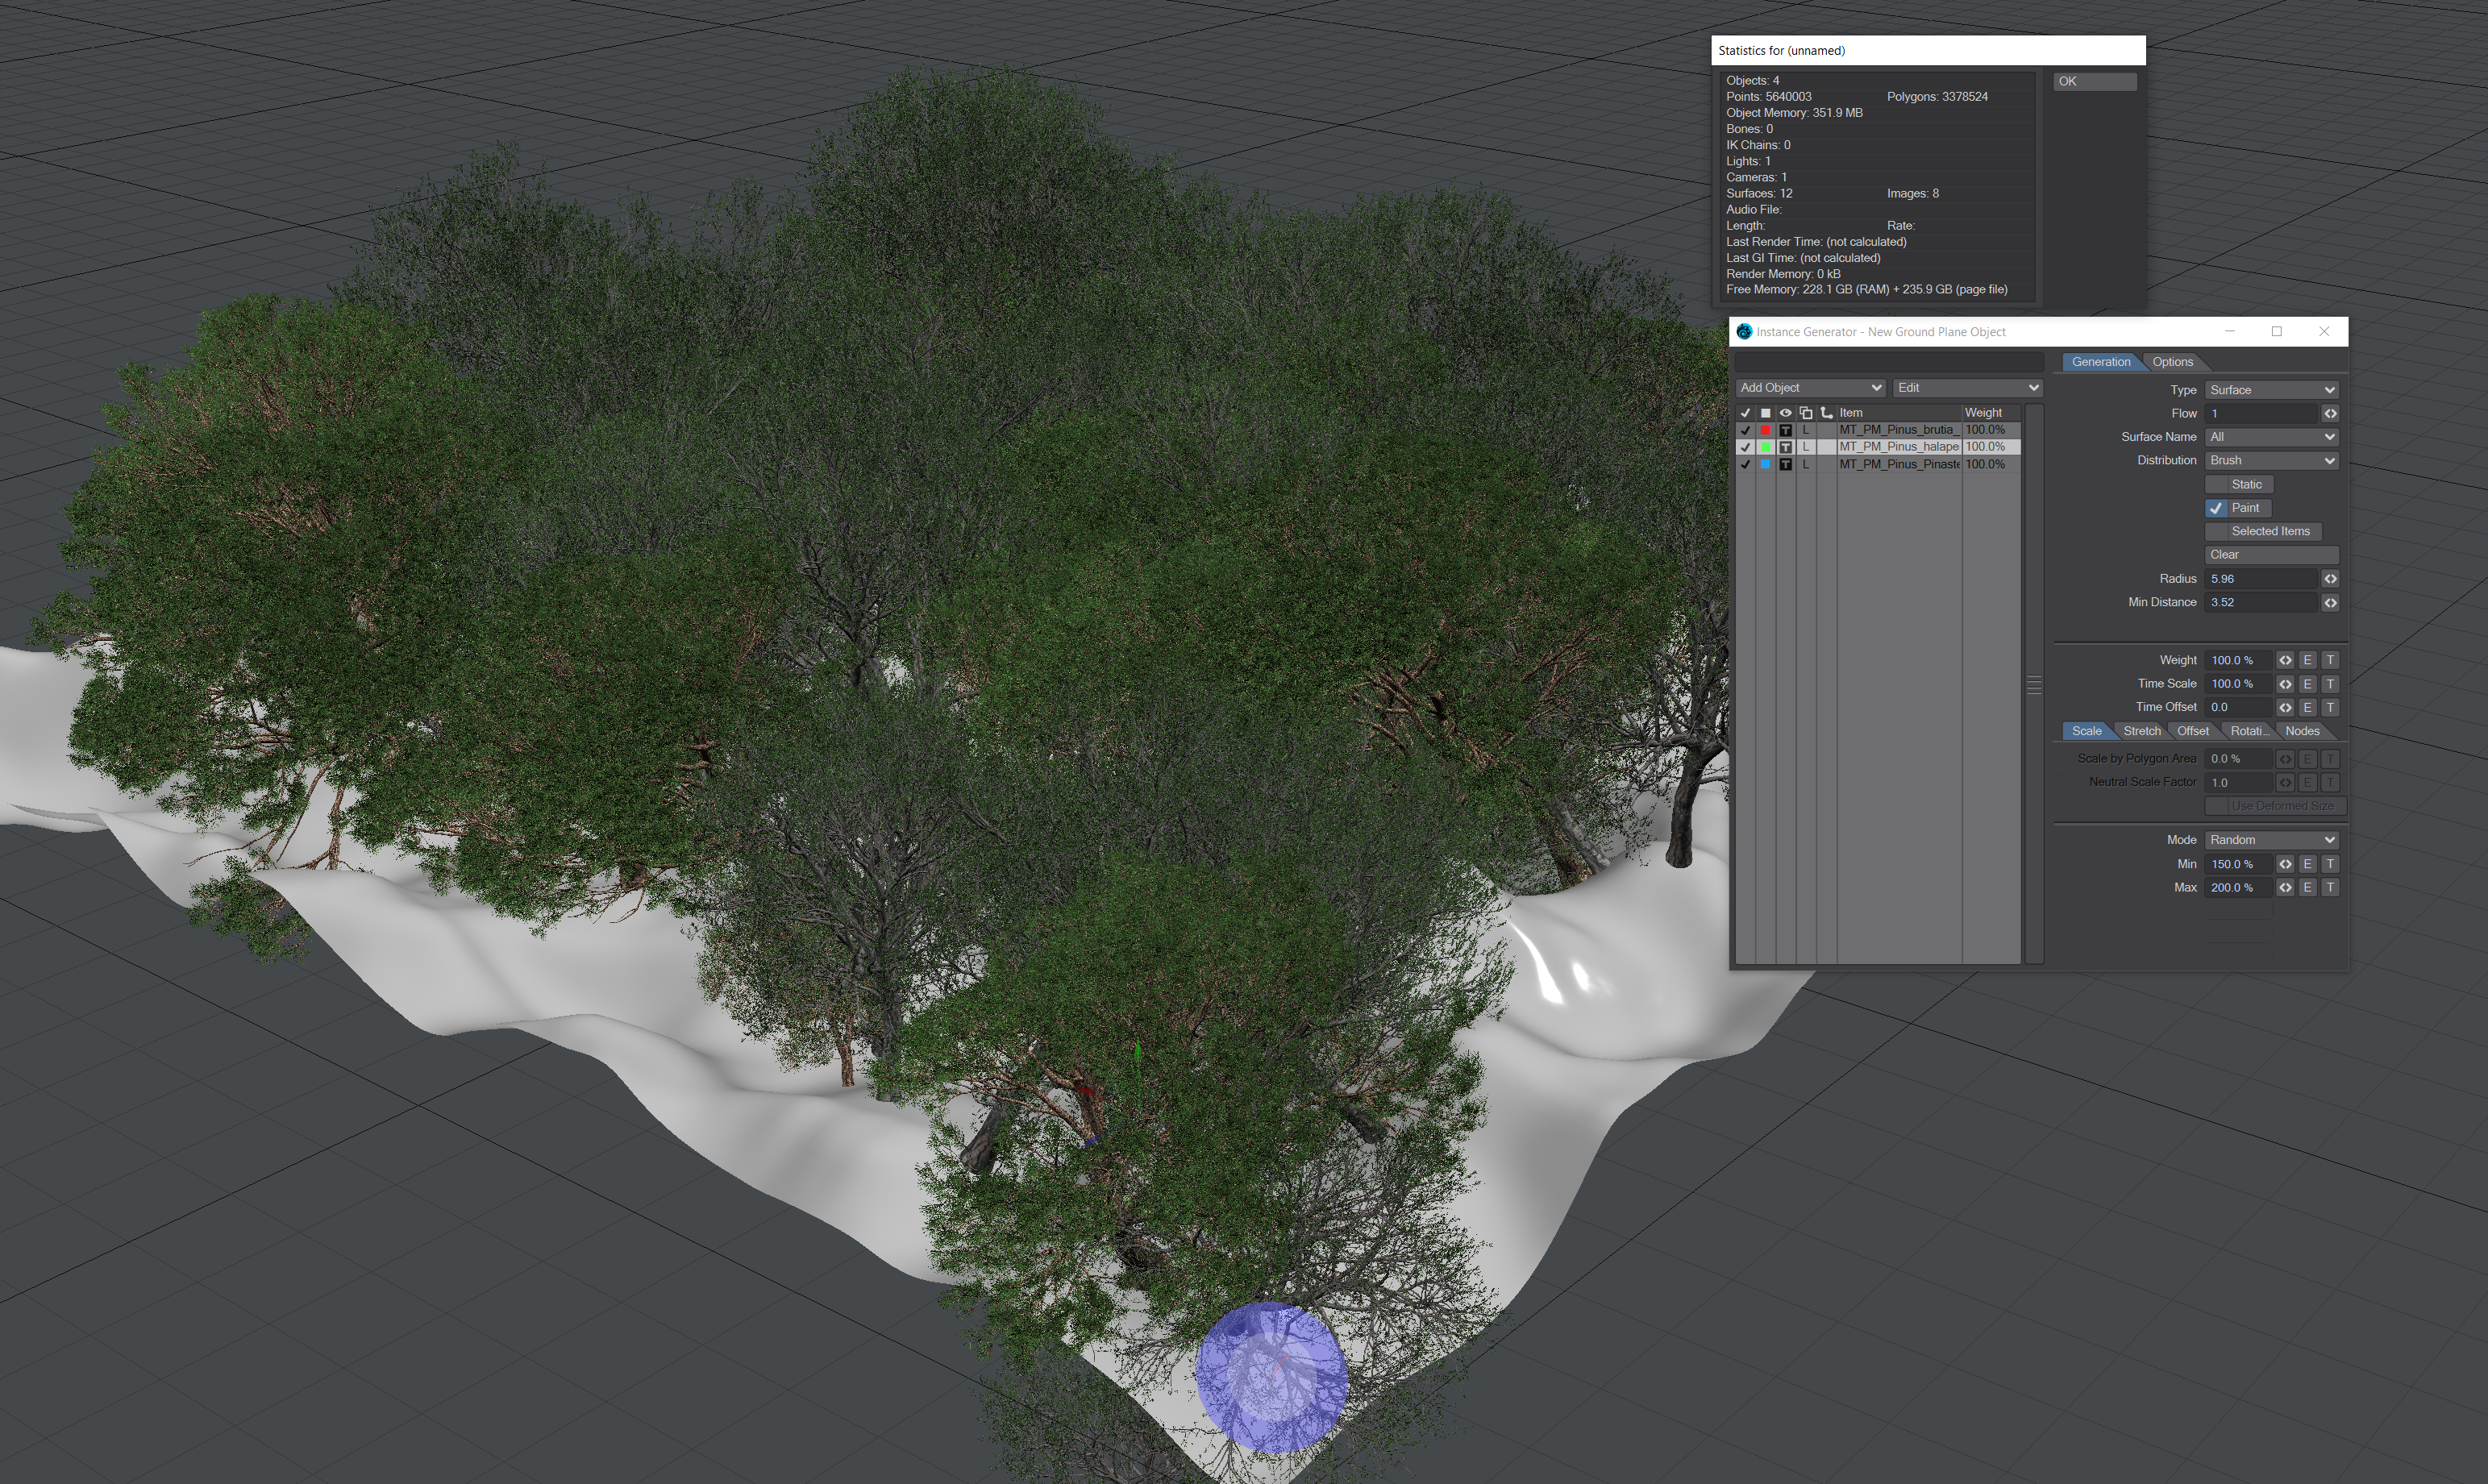
When using Surface as your instancing method, there is now a third way of distributing instances. In addition to Random and Uniform, there is now Brush. With Brush, you have complete control over the placement of individual instances.
Please be aware that in this initial version of Procedural Geometry, changing whether the surface you are placing instances on is subpatched on not can have unintended consequences.
The same if you edit a polygonal mesh upon which instances have already been painted.
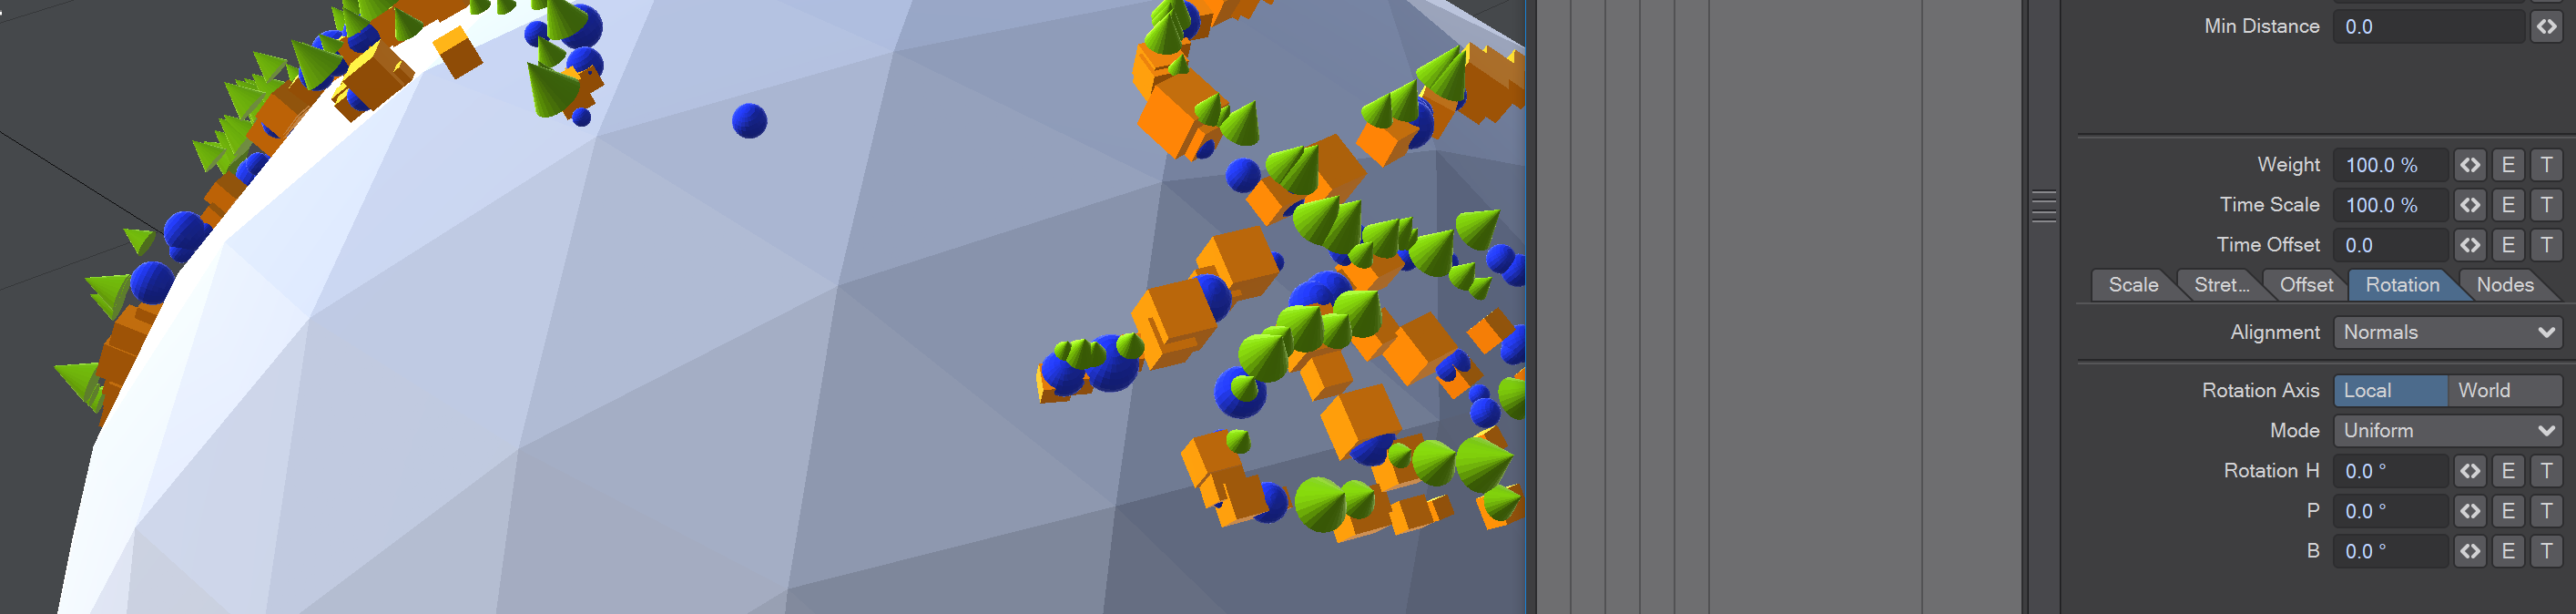
With Brush selected, you no longer need to set a number of Instances to be generated - how many are is dictated by how much you brush. To begin laying down your Instances, click the Paint toggle and you'll see the viewport becomes outlined in green to show you are in paint mode. Painting is laid down with the left mouse button, deleting with the right. You can change the size of the brush using the Radius field or by holding Ctrl and using the LMB to resize the brush interactively. The Min Distance field gives a minimum distance between instances, ideal if you want to paint traffic cones or trees. The size of the Min Distance field can be adjusted numerically or by holding down Ctrl and using the RMB. If you are painting on a non-flat surface, as with the Random and Uniform modes, instances can be painted with Rotation Alignment set to Normals to ensure your instanced objects follow the curvature of your shape.
Once you have finished painting your instances, toggling Paint mode will remove the green outline and your instances will be kept at their painted positions. You can revisit your placement at any time before render.
Flow and Selected item
When using Brush, the field showing instance number is replaced by one labelled Flow. This indicates how fast you will lay down instances on your surface. Flow can be set to any positive number, but be aware that if you have a large Min Distance set, your flow rate won't appear any faster than 1 because of the spacing.
Previously, when multiple instanced objects were used, their weighting determined how much of each of the objects was used when covering a surface. Changes for 2023 allow finer control when using the Brush mode. You can now paint your objects individually - want a flower just... there? Put it exactly where you want. Need a row of trucks, but not cars? No problem. Choose the Item you want to paint with in the list on the left and click the Selected Item toggle. You will then paint the item selected in your instanced objects list. Toggle off and you will be in the weighted distribution method known since LightWave 11. The Clear function can equally use the Selected Item toggle, enabling you to only remove all the instances of a specific type at once.