Vehicle Setup Pro
LightWave ProTools spotlight
Intro
Vehicle Setup Pro makes rigging cars more easy. Using Vehicle Setup Pro (VSP), your steering wheels will turn and all wheels will rotate at the correct real-world speed. There's even a bit of pitch and roll to emulate accelerating and braking and the centripetal effect or going around corners. Making sure VSP can work properly requires some setup.
Setting up a car model
- Cars need to be in at least four layers - body, front left wheel, front right wheel and rear wheels. If you want to be more detailed, the brake calippers need to be in a further three layers.
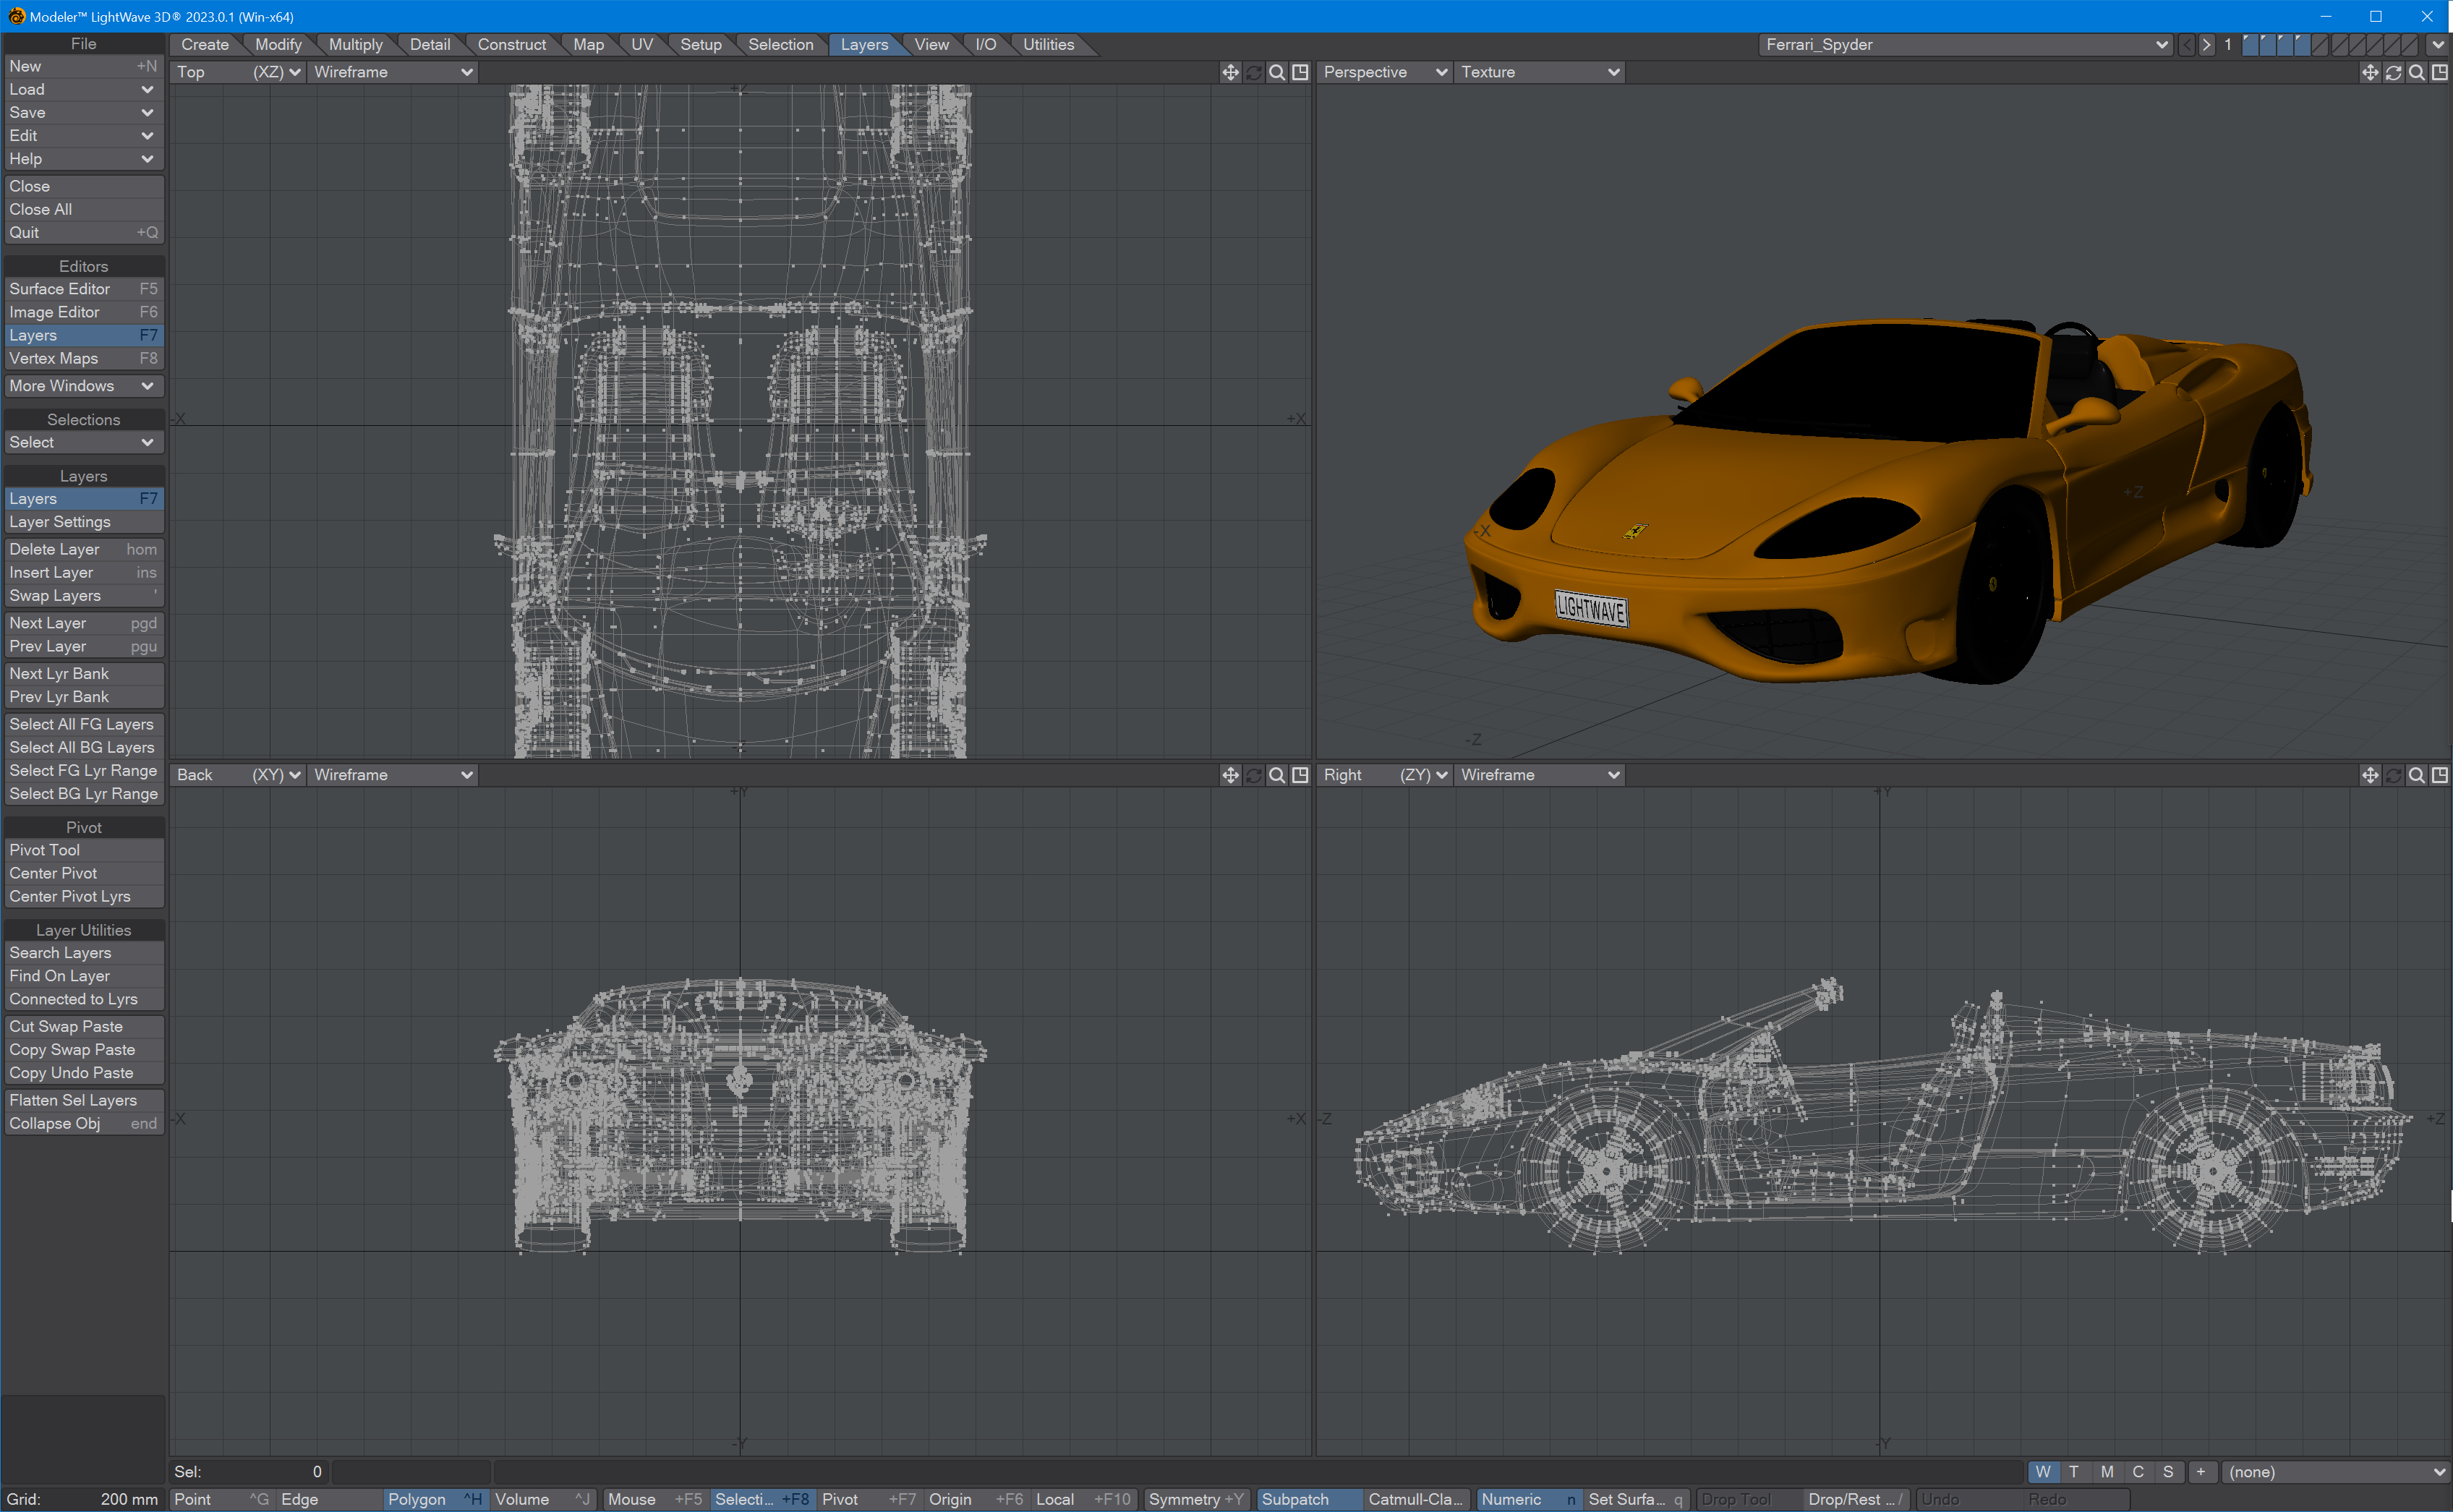
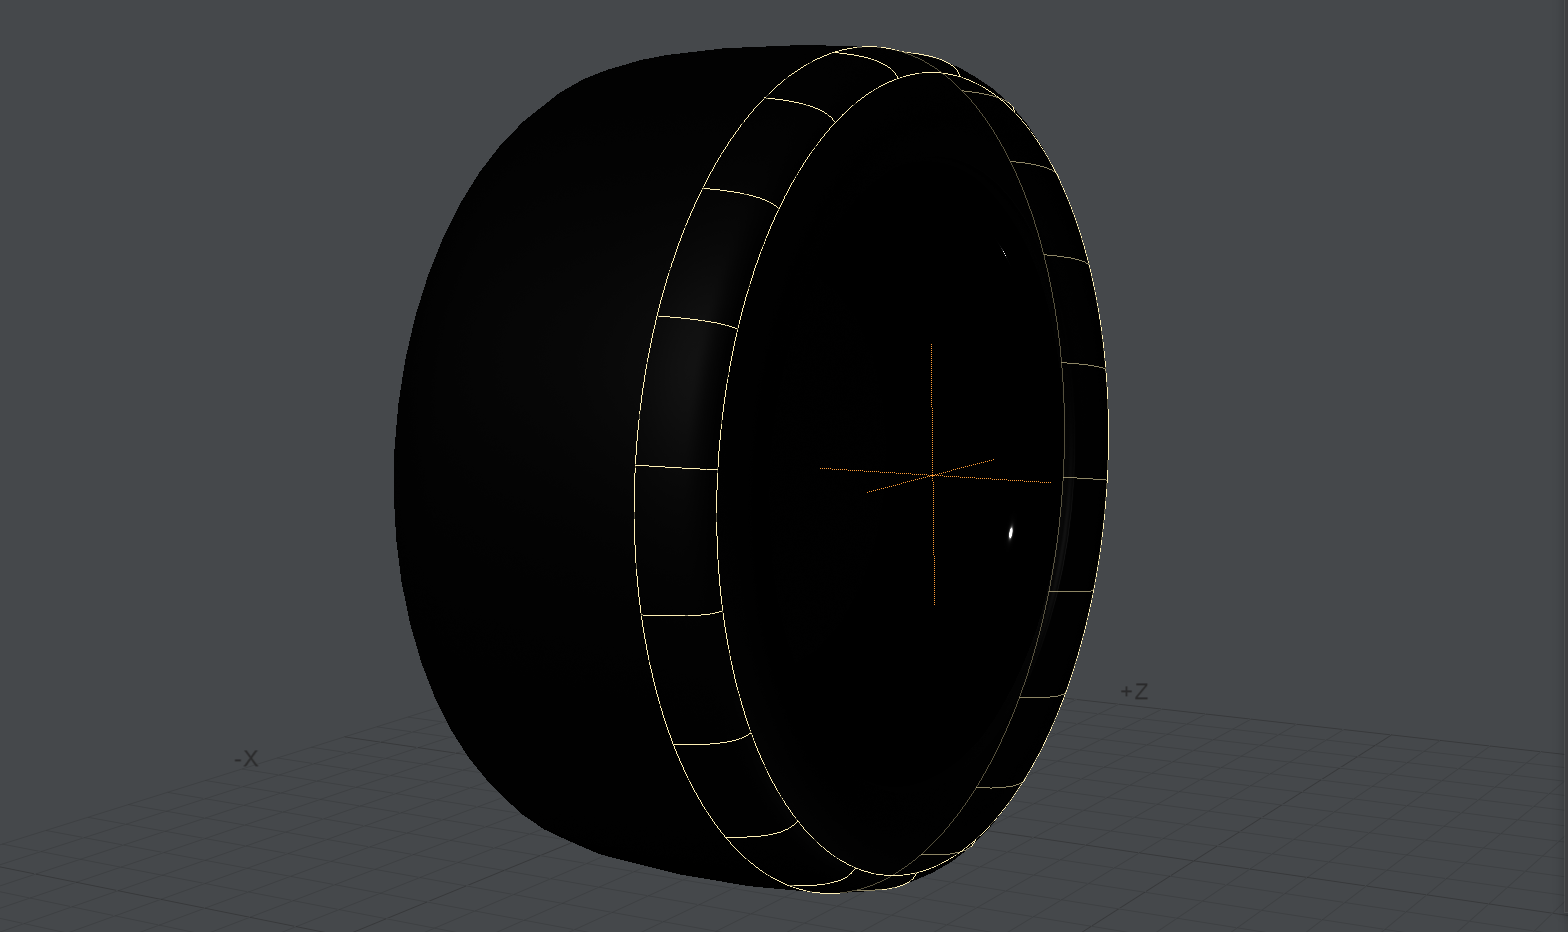
- Ideally, the car's wheels will be where you'd expect if you were just rendering a still image - inside the wheel arches. Because of the way LightWave's pivots work, you might have copied the wheels to 0, 0, 0 so that they rotate correctly. This is not necessary with VSP and makes things more awkward. To ensure things work correctly with VSP take your car to Modeler. If the wheels aren't on three separate layers, make sure they are - front left; front right and rear - then you need to use Modeler's Pivot tool. You will find it on the Layers tab. Start with the rear wheels layer. Select the tyres on the two back wheels (hit ] to make sure you have all connected polygons), then go to Layers > Pivot > Pivot Tool, then Center Pivot.
- Next, take the front wheels one at a time. Again, use Pivot Tool and Center Pivot. If you want to use brake calippers, duplicate the wheel layers onto three new ones - front left, front right and rear - assign the pivot then delete everything but the brake. That should make sure the brake rides "behind" the axle. Save your car, then Send it to Layout. Now would be the ideal time to add your car to Model Presets.
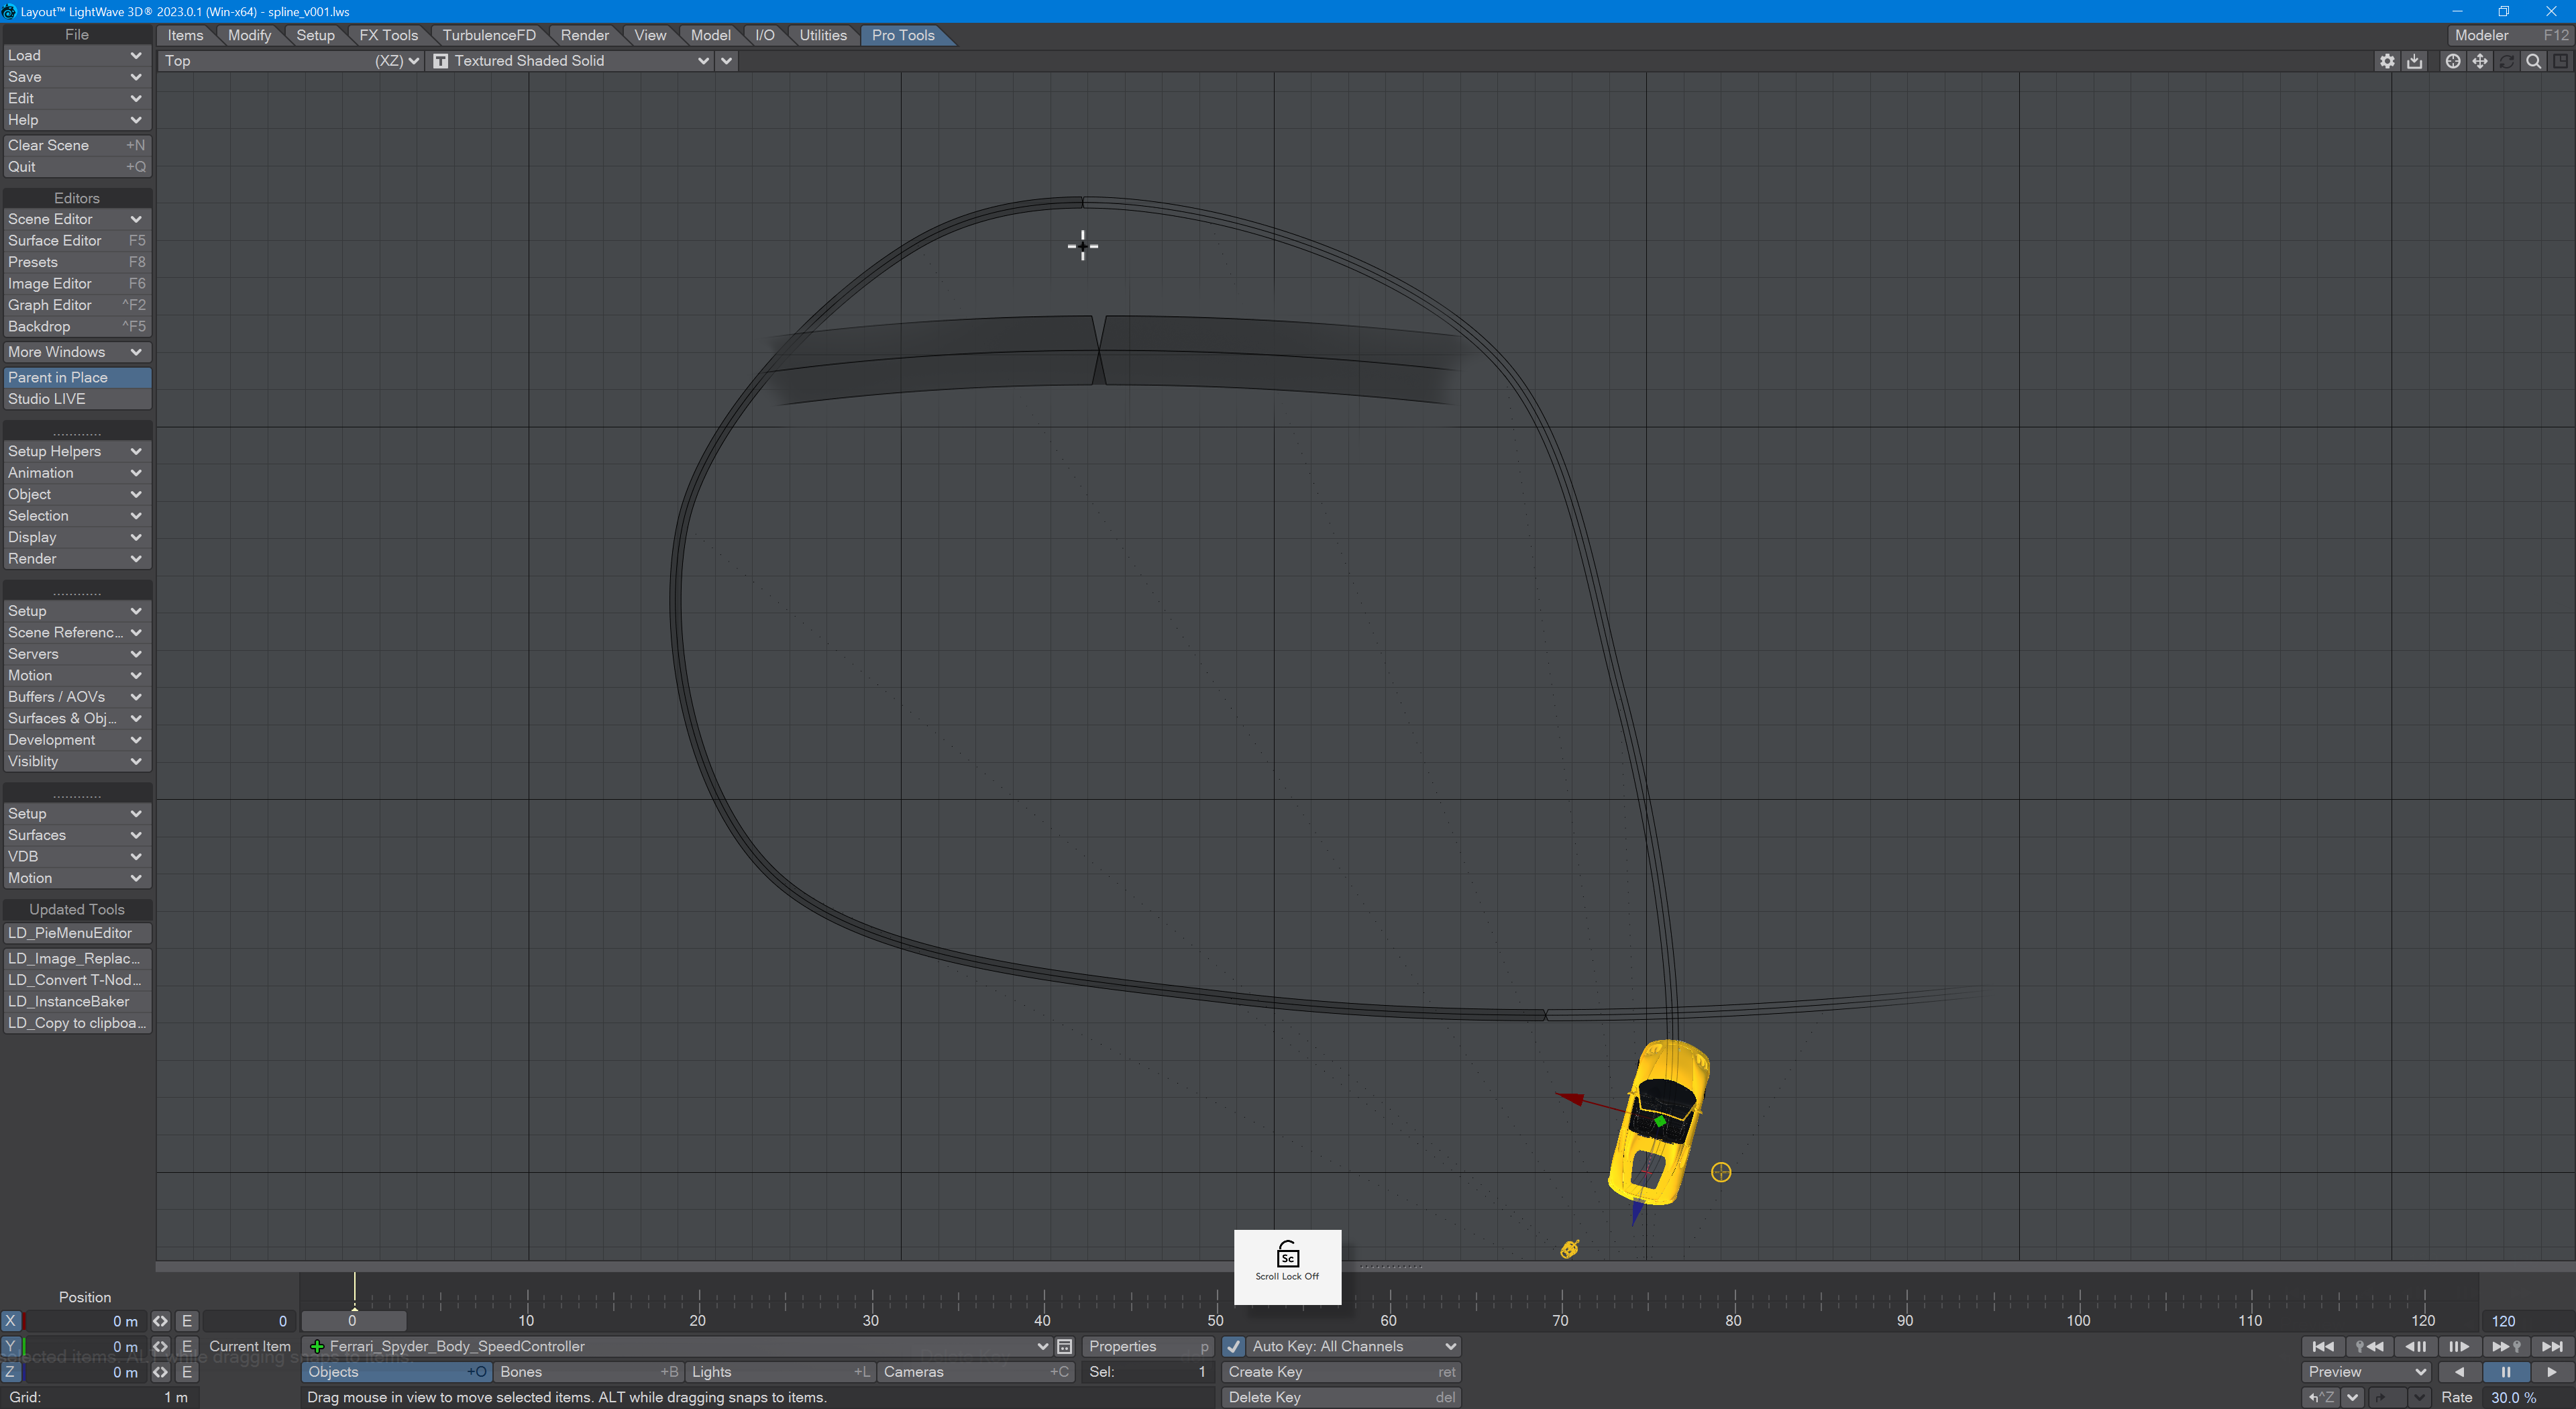
Setting up Spline Control
- Add a null and call it Spline.
- Make a second null and call it Node. Move it away from the first null, then Clone it (Ctrl-C) and repeat moving it around. Imagine the nulls drawing out a path; repeat as many times as you like (just do four or five for your first go.
- Open the New Scene Editor (Ctrl-F1). Select your Node nulls and drag them onto the Spline null. It should be highlighted in green.
- Save your scene! It's difficult to recover from a Spline Control spline going wrong, so make sure you have a base scene set up.
- Spline Control can often get nodes the wrong way around - they look like they are all at HPB 0, but then you notice a twist in the spline (first image) and your car is jumping around. If it happens to you, track where in the animation the car starts shaking and go to the Spline Control node null before. In rotation mode (Y), make sure the red Heading circle has the arrow facing along the spline (gif animation). Only rotate in the same direction each time.
- Moving a node null up or down (to make hills) has no impact on rotation flipping.
Using Vehicle Setup Pro
Now that you have your car model set and your nulls arranged to make a road, it's time to rig.
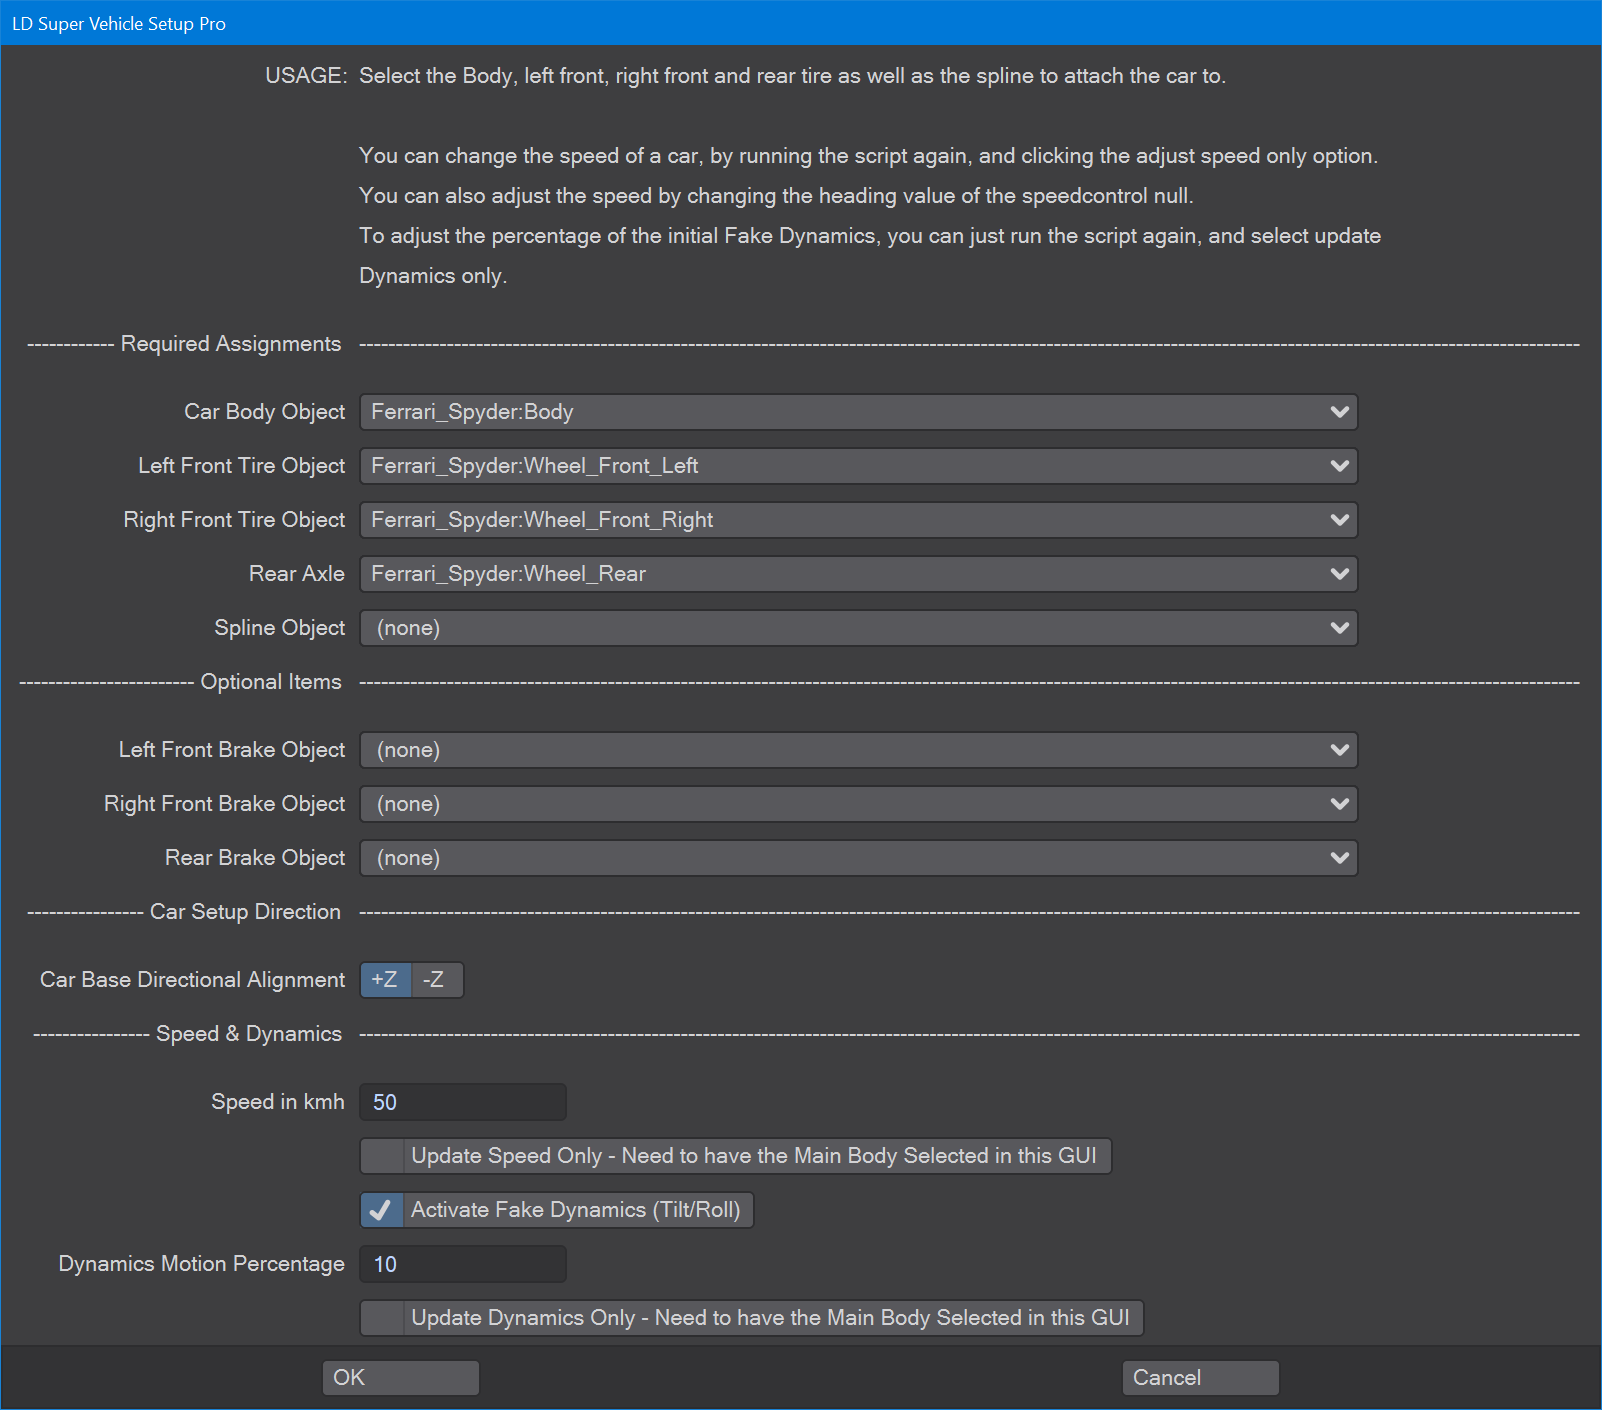
VSP has handy information at the top of the window. As it says, you can run the script several times to change things like the speed at which your vehicle is travelling, or the effect of the Fake Dynamics.
The next section is fairly self-explanatory. You need to assign the appropriate vehicle parts to the different entries. After, we have Spline Object. This should be the head of your Spline Control item (a null called Spline in this example).
The optional items are the three layers for the brakes. VSP works perfectly happily without them. Your Car Setup Direction is important, note which way the car is pointing in Modeler's Right viewport - to the left means -Z.
The last section is Speed and Dynamics. There is an initial value set for speed, by default 50 km/h. This value can be changed as you like, but there is also a Speed null parented to your vehicle so that keyframes can be set by adjusting the Heading value.
You can solely revisit the speed or "dynamics" of your car rig by checking the relevant options.