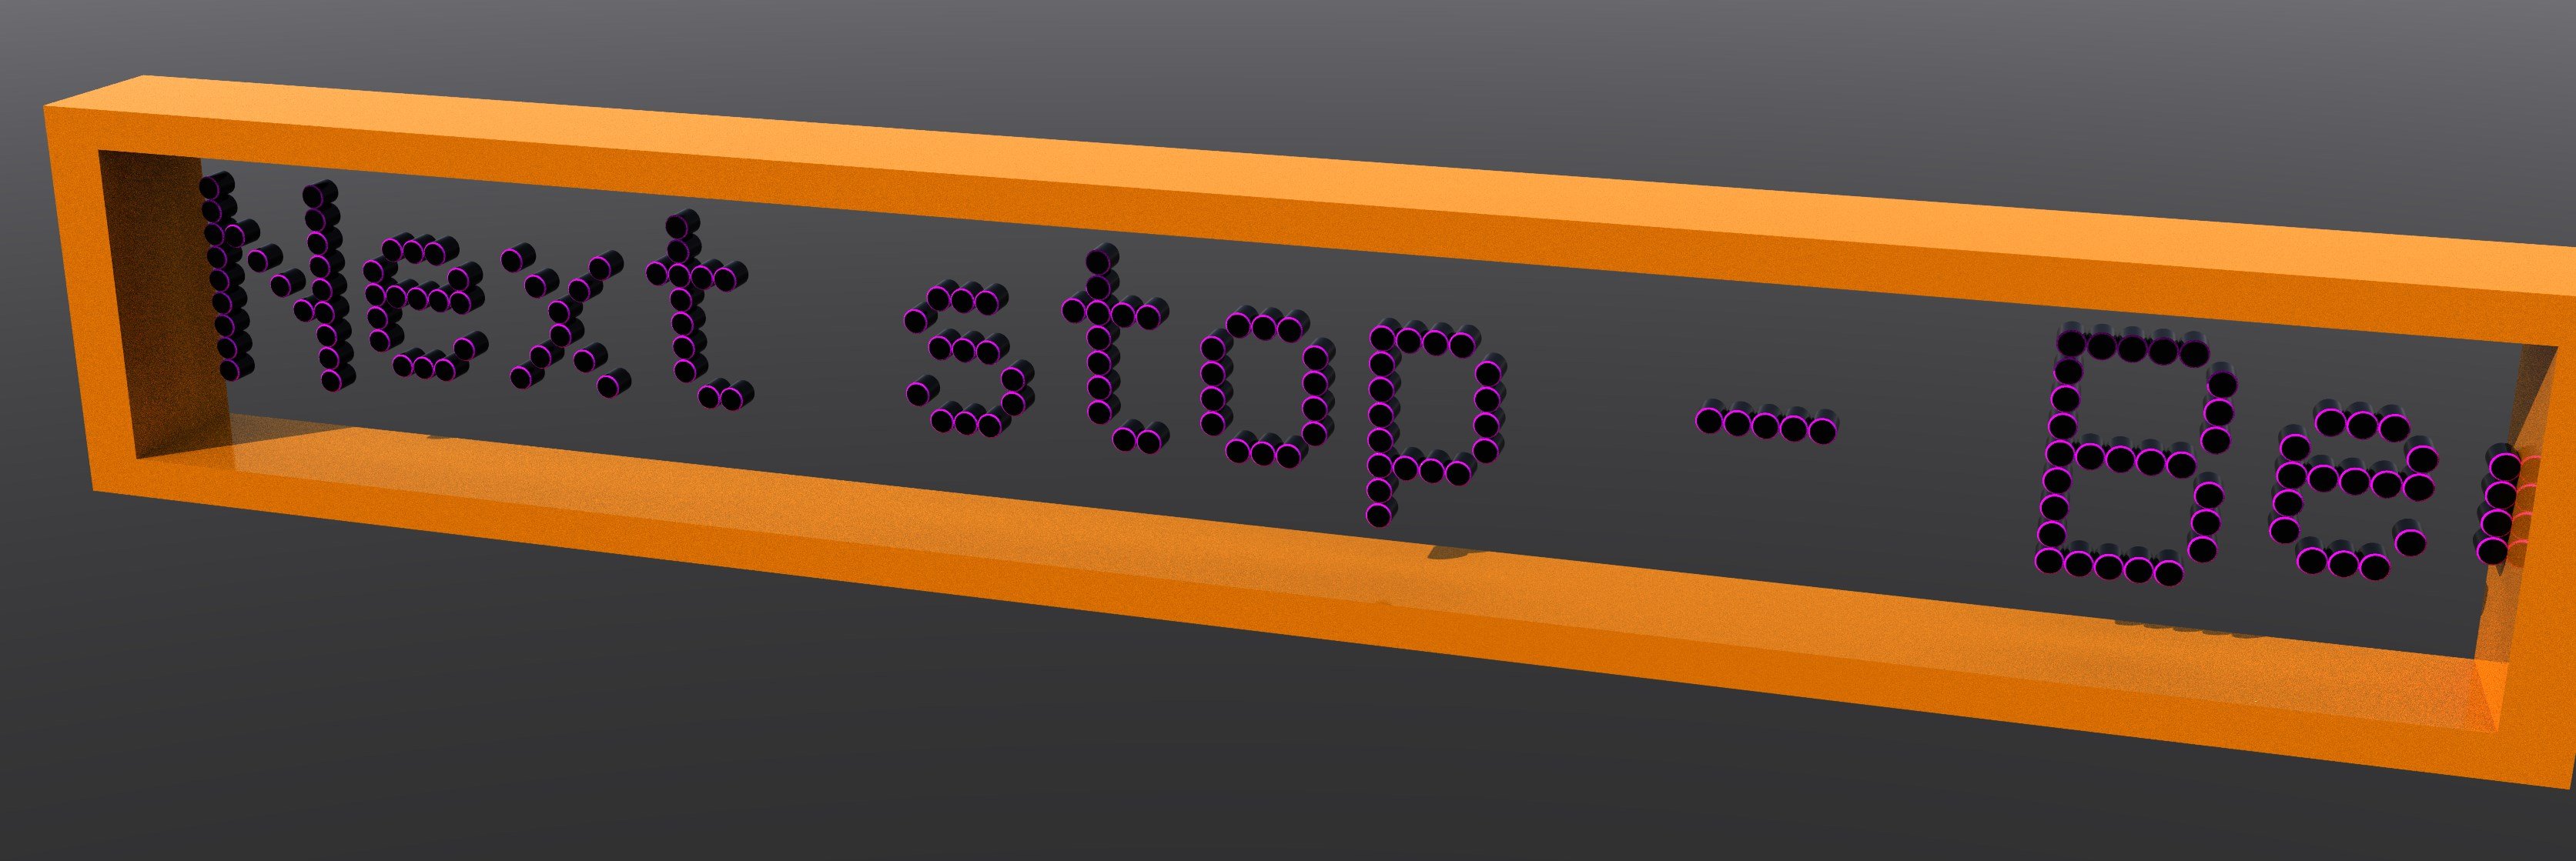
Text Generator
Generate on-the-fly text for all your animation needs
Intro
Layout's new Text Generator is exactly that. Unlike our previous methods, which involved a laborious time in Modeler - creating the text; extruding and beveling; correcting holes that didn't work and assigning surfaces manually. All to have to be redone from scratch if a change is needed - you can now simply add a null object in Layout and use the Text Generator Object Replacement new to LightWave 2023.
Basic functionality
The Text Generator is added to a null object using the Object replacement dropdown and choosing Text Generator. You then need to click the P icon to get the Text Generator properties to replace the default text. At this point, you might not be seeing anything because the first font in your fonts list is always chosen. At the bottom of the panel, click Realtime so you have instant feedback on the changes you are making. If things slow down too much, or there are problems with the display, you can turn Realtime off so that only clicking on the Update button refreshes your font.
Editing your text
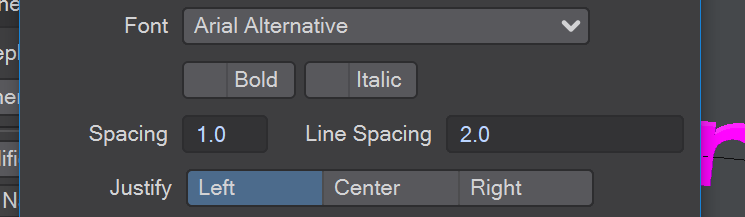
Before you start writing, you might want to choose a typeface for your text - don't forget you can type in the font list to narrow down your choices. Right now, you can only choose one font per Text Generator object and only one style. The String field where you type text is also incredibly basic. You will need to hit return where you want line breaks and there's no helpful underlining to show faults as we are used to. It's a good idea to write your text elsewhere and to copy and paste it into the LightWave Text Generator.
Optional Bold and Italic checks will apply existing font styles if available, or create pseudo styling if the font doesn't have alternate styles.
Spacing is based on font metrics and is not in any unit - 1.0 is the standard font metric, <1.0 gives less spacing between characters and >1.0 gives more. The same is true for the Line Spacing option, it is also based on font metrics and a value of 2 will double your line spacing, while 0.5 will halve it.
Justify allows you to perform the standard justification methods - Left, Center and Right.
Changing any of these options will break bone functionality, so make sure you're all set before adding bones.
More details
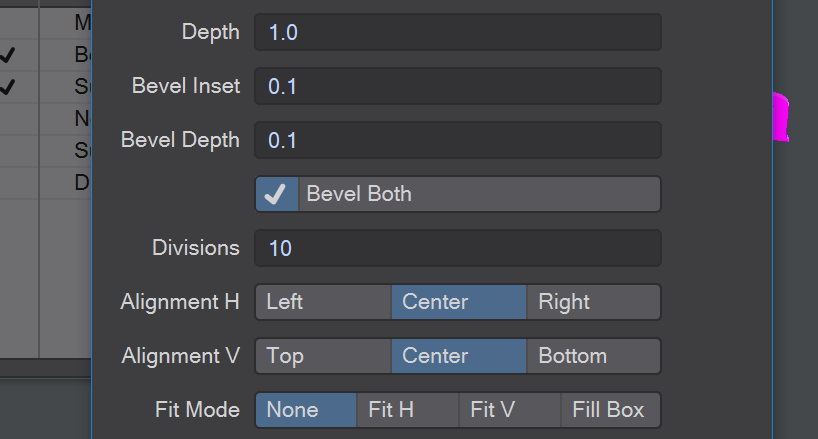
This section will be familiar to anyone who has worked with text in Modeler before. Depth is how extruded your letters are in the Z axis, while Bevel Inset and Bevel Depth control how big and angled the bevel on letters is. Bevel Both bevels both sides of the text if checked.
Divisions controls how subdivided the curved sections of letters are, as shown. Note the H doesn't change whatever the Division level.
Alignment H controls where the Pivot point for your text is located - at the left edge, in the center or at the right edge
Alignment V controls whether your pivot is above the top of your letters, in the center or at the baseline of your letters.
Fit Mode allows you to create text that will fill a box created with the letters you write. You can choose None, which is the default; Fit H, which will size the letters so they fit inside the box proportionally; Fit V, which fit the height of the letters to the boxes height; or Fill Box, which will size the letters to fill the entire space of the box non-proportionally. This box can be sized using the normal size or stretch tools.
Again, apart from the Divisions or Bevel settings changes to settings here will leave bones where they were before changes were made. Make sure all the changes you want are made here before using Make Bones.
Surfacing and animation
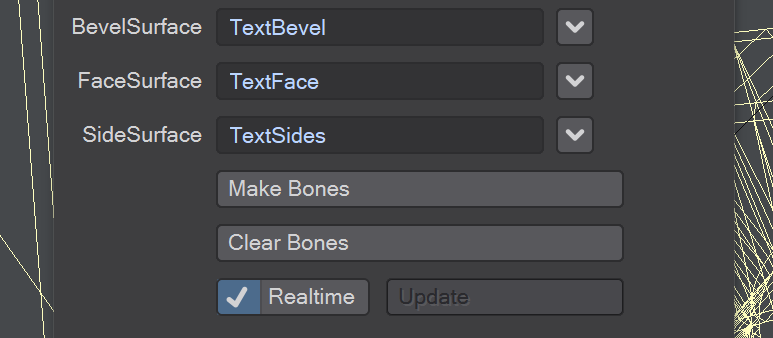
BevelSurface, FaceSurface and SideSurface are fields so you can give your text surfaces custom names. Make Bones will create a bone for each letter so that you can either animate your letters as a block in object mode or each letter individually by animating the bone. Bones can be moved, rotated or scaled with an effect on the letter they are attached to
Clear bones will remove all bones if you need to rewrite your text or change other settings as noted above. Be aware that when you do so you will lose all assigned animation
The Realtime check allows you to make changes and see them instantly. If your text is long or complicated, it's probably best to use the Update button as needed.