Overview of Interface
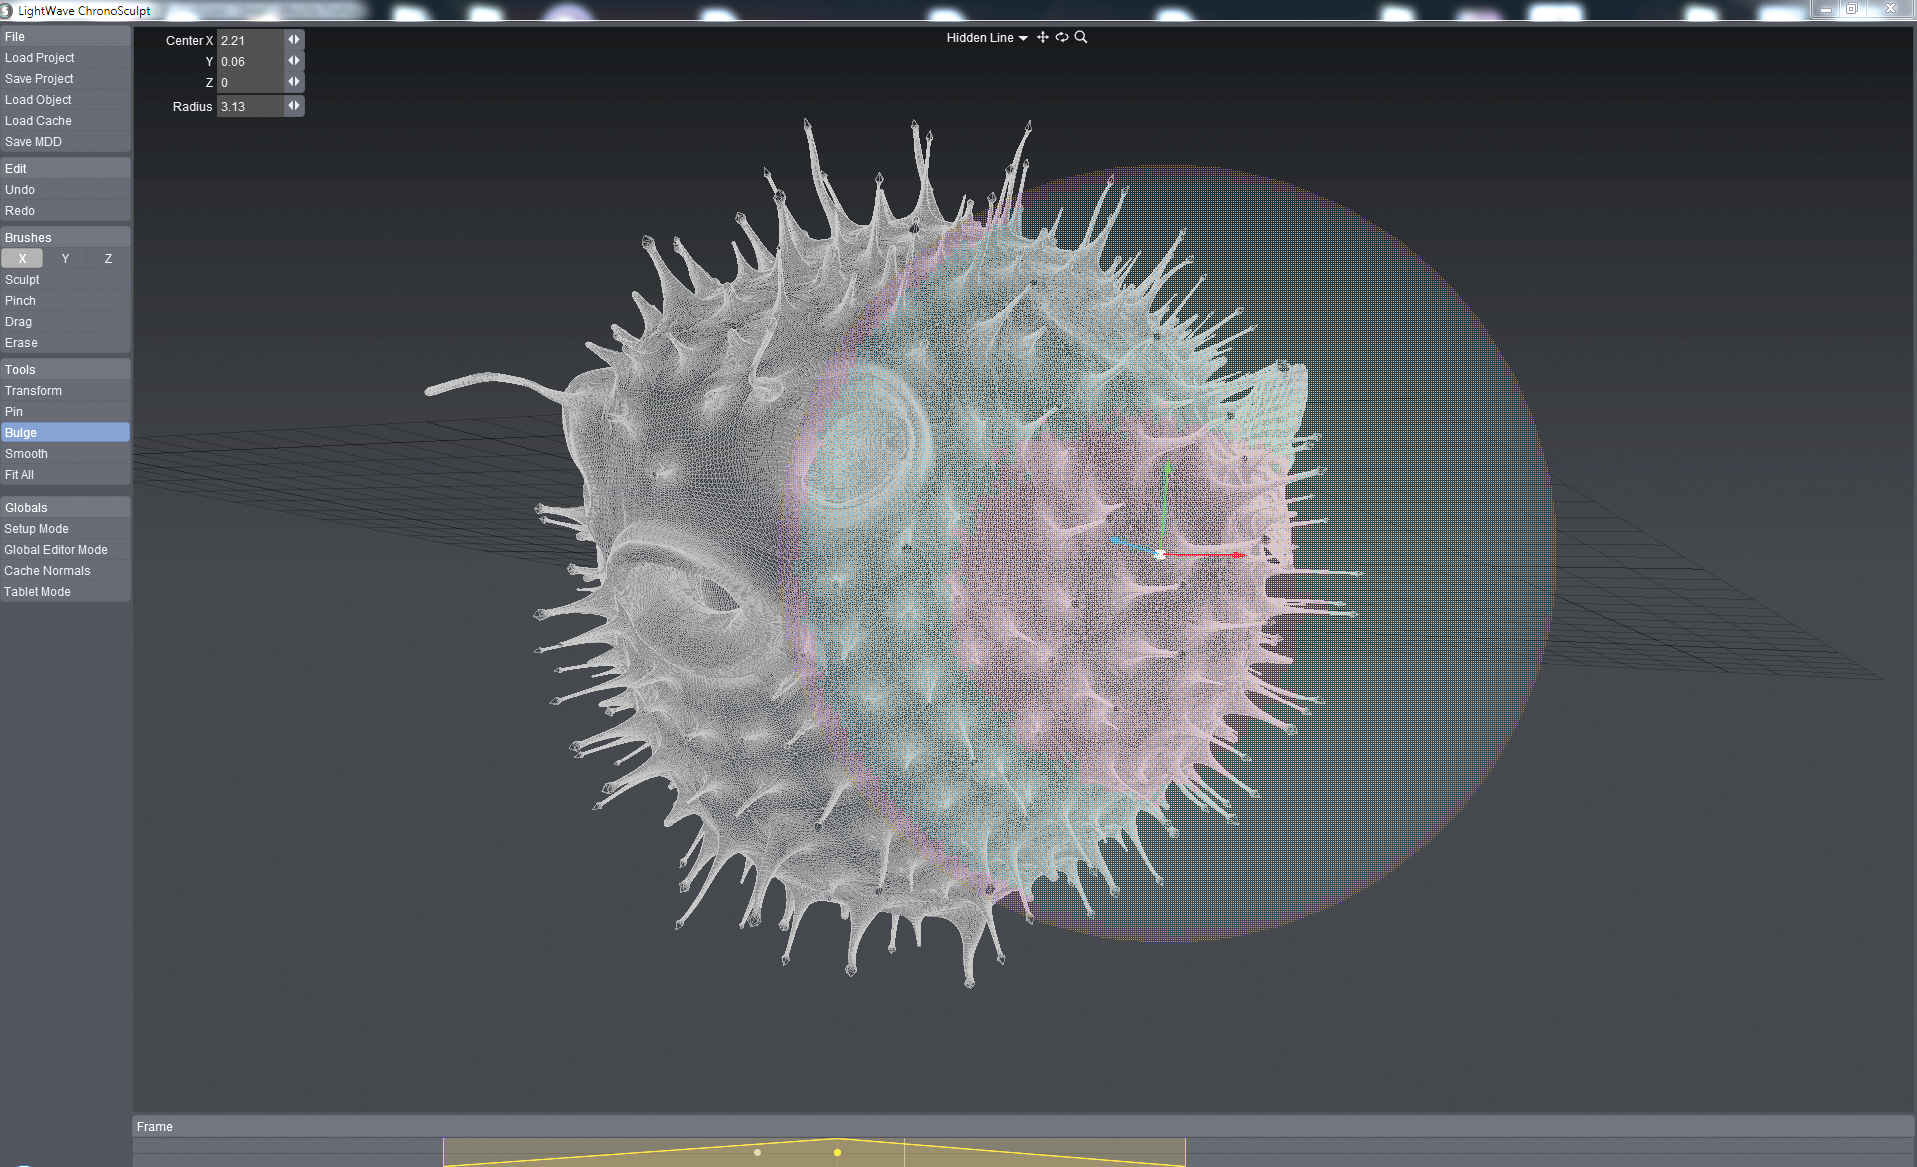
ChronoSculpt is a simple application that doesn’t need a complex interface to have powerful results. Most things should be fairly intuitive. The main viewport is a Perspective view of your scene that can be navigated around using the three buttons at the top of the screen or their keyboard shortcut equivalents of Alt+Shift+LMB for panning the scene, Alt+LMB for orbiting the scene or Alt+Ctrl+LMB for zooming.
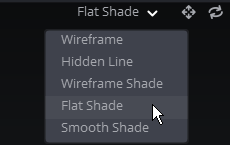
To the left of the navigation controls are the display modes:
- Wireframe - the basic wires for your scene;
- Hidden Line - only shows the wires for the front faces;
- Wireframe Shade - shows shaded polygons with a wireframe;
- Flat Shade - flat-shaded polygons, best for mechanical models;
- Smooth Shade - smooth shaded polygons, best for organic models.
The navigation controls use the left mouse button to pan, orbit and zoom the display respectively.
Tools that need additional settings present a HUD in the viewport. Values can be changed with the sliders or typed in. Alternatively, the RMB can be used directly in the viewport to set the radius for example.
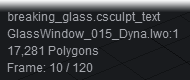
At the bottom of the viewport, you will see the name of the project, the active object with its polygon count and a frame number.
Transport
From left to right:
- Go to start frame
- Go to previous key frame
- Go back one frame
- Play scene
- Step forward one frame
- Go to next key frame
- Go to last frame
- Loop toggle

Timeline
The timeline at the bottom of the screen can be navigated using the left and right cursor keys or the orange frame marker dragged through the scene. Keyframes can be moved in the timeline by clicking on their central dots and dragging them to where you want and the extents of the time taken can also be dragged to expand (and thus slow down the effect) or contract the time taken for a keyframe. Holding Shift will allow you to drag into fractional keyframes just as with navigation.

There are three lines to the timeline. The first shows keyframes for morphs in yellow, the second indicates pinning in red. The third line is for the geometry cache(s) loaded for an object in blue.
The three text boxes at the left end of the timeline are for:
- Scene Start - traditionally starting at 0;
- Scene Length - this automatically expands if you load a longer cache clip, but never contracts. It can also be set manually;
- Framerate - by default set to 30 fps. MDD files do not contain an FPS setting
The slider at the bottom can be resized to only view part of a longer scene by dragging on the arrows at either end. When smaller than the scene length it can be repositioned in the scene by dragging on the central portion of the slider.
Navigation
Navigation uses a to Fit All, Alt +LMB for orbiting the view, Alt+Shift+LMB for panning the viewport and Alt+Ctrl+LMB for zooming. Space is used to drop the tool you are using and Esc is used to drop the clip you are working on.
Advanced users of 3D software other than LightWave may want to change the config for the mouse navigation. The manual will continue to refer to the LightWave way of doing things, but if you wish you can edit the ChronoSculpt1.0\bin\cs\startup\CsShortcuts.lua file in a text editor.