Tone mapping
Introduction
A new Pixel Filter to enable control over how your rendering looks. Tone mapping is a way of taking the high dynamic range of a LightWave render and massaging the contents to display them to the best effect. As an example, imagine you take a picture indoors on a sunny day with a window in the background. Your camera will do one of two things. It will either think you are really interested in what's outside the window, despite you having taken the picture indoors and make everything indoors in the picture really dark to give you a nice view of the sky outside with all the little, fluffy clouds; or it will expose correctly for inside concentrating on your TV figurine collection, and the world outside will be reduced to a bright white square. When LightWave renders an image, it has both sets of data. Normally, we accept what LightWave gives us because we can steer it to what we want to see, but it has seen all. The trick is to combine that view of outside while maintaining the visibility of what is inside the room. Tone mapping can help with this task, and because it's a Pixel Filter, not an Image Filter, it can be used in VPR.
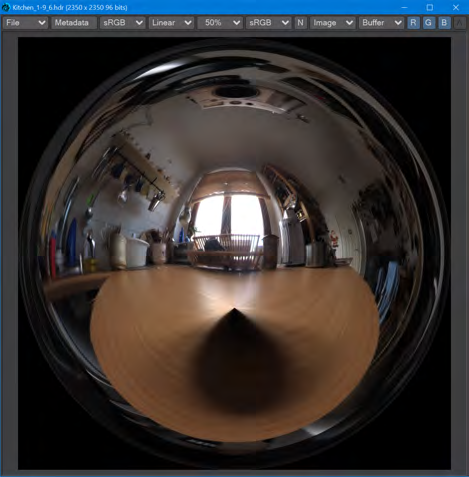
LightWave came with a Kitchen HDR image in the LightWave [6] days. It could be used for lighting a scene for global illumination back in GI's earliest days. It's a 360° photograph of the inside of a kitchen, and look in the background, there's a white window!
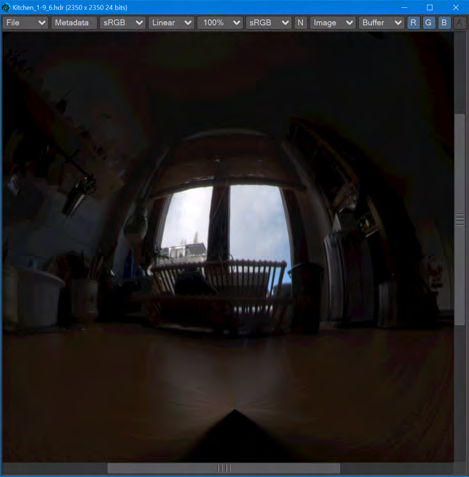
That window isn't just white, this is a high dynamic range image. Here's a close-up on that window exposing more for what's outside the kitchen. We can see the top of a building, and yes, fluffy clouds...
Examples
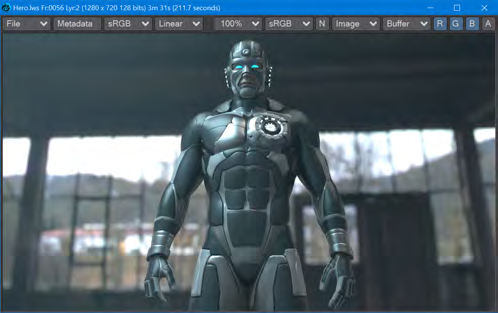
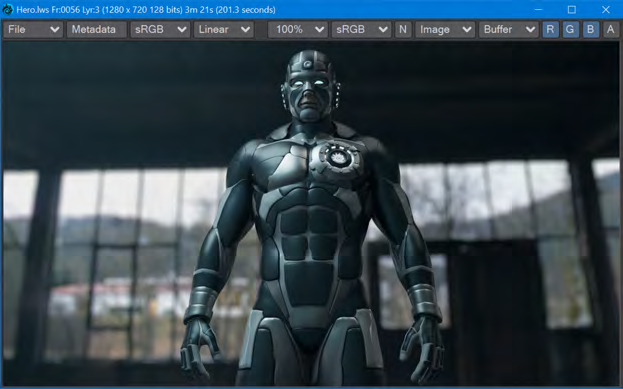
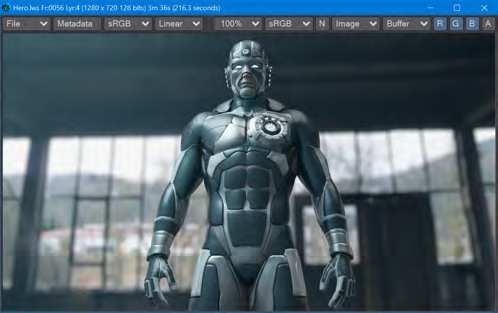
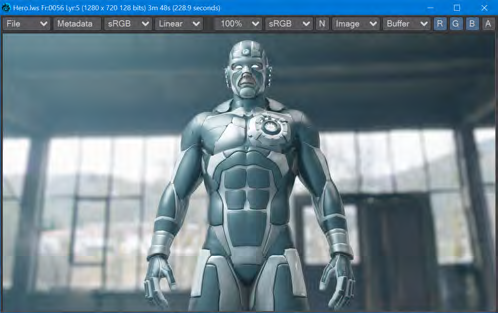
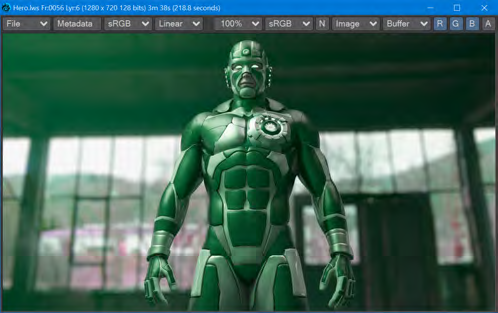
Here are some examples with the Hero scene from the supplied content:

Tone Mapping
Four types of Tone Map Operator (TMO):
- Linear - This is the default LightWave render. You can control Exposure, Hue, Saturation, Brightness, and Contrast
- Reinhard - The Reinhard method (just to be clear, because Max Luminance is controllable, this TMO is Extended Reinhard) is one of the simplest tone-mapping methods. It guarantees a solution that contains your brightness levels within the 255, 255, 255 range for LDR images, with no blowout. You can control Exposure, Max Luminance, Hue, Saturation, Brightness, and Contrast. Results can look grayish if you are working with brightly colored, highly saturated subjects
- Filmic - The Filmic TMO is designed to replicate the look of film in the real world. It is based on John Hable's work. You control Cutoff, Max Luminance, Hue, Saturation, Brightness, and Contrast
- ACES Filmic - The Academy Color Encoding System (or ACES) is a color image encoding system created by industry professionals with guidance from AMPAS (Academy of Motion Picture Arts and Sciences). It is rapidly becoming an industry standard. You can further control Exposure, Hue, Saturation, Brightness, and Contrast. ACES Filmic is much-praised for its film-like color response with rich blacks, and vibrant lighter tones
Some TMOs have the following settings:
- Exposure - (Default 1.0) The Exposure control is a multiplier for your color channels
- Max Luminance - (Default 1.0) Luminance is the value of light reflected off a surface. The Max Luminance setting allows further control for exaggeration or damping down of reflections
- Cutoff - (Default 0.025) Values below this level are treated as black
All TMOs have the following settings:
- Hue - (Default 0.0 °) Rotate the color wheel to tint your render
- Saturation - (Default 100 %) Reduce or increase the amount of saturation in the render
- Brightness - (Default 100 %) Reduce or increase the overall brightness of the rendered image
- Contrast - (Default 0 %) Reduce or increase the overall contrast of the rendered image
Settings are maintained between TMOs where possible.
Uses
Tonemapping is a great way to get a quick look at how to push your images for the best look. It's ideal in that it can be used in VPR, but it does take a floating-point image and remap it into display space; your images will no longer be in high dynamic range. If you are using LightWave in a compositing workflow, you should definitely not use tone mapping in LightWave because it is inherently destructive for final renders. Tone mapping should occur in the compositing application.